· Tessa Winslow · Flooring & DIY · 14 min read
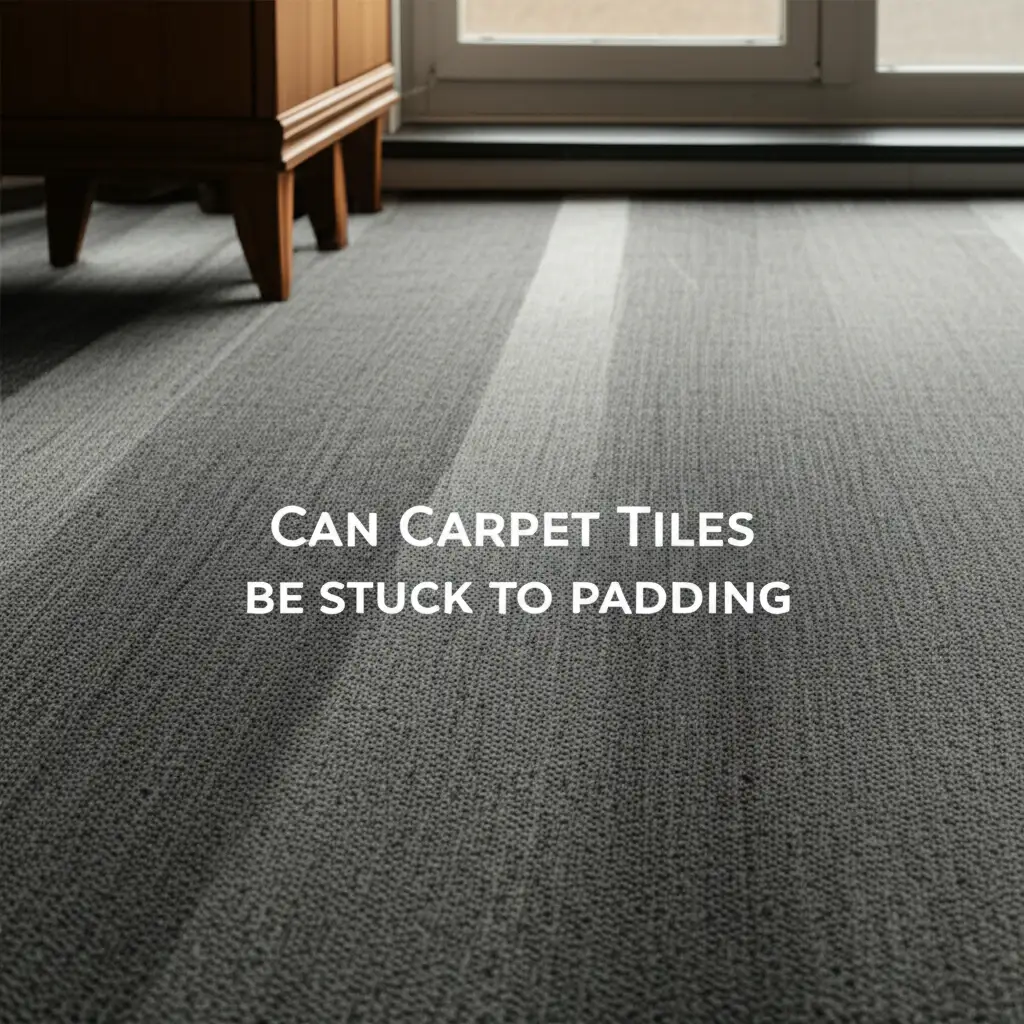
How To Arrange Carpet Tiles

Arrange Carpet Tiles: Easy Steps for Stunning Floors
Have you ever looked at your old flooring and dreamed of a fresh new look? I certainly have. Carpet tiles offer a fantastic way to update any room in your home or office. They are versatile, easy to handle, and provide endless design possibilities. Knowing how to arrange carpet tiles lets you create a professional-looking floor all by yourself.
This guide will walk you through everything you need to know. We will cover preparing your space, choosing the right tiles, and mastering various layout patterns. You will learn the exact steps for installation, how to secure your new floor, and even how to maintain it. Get ready to transform your space with beautiful, durable carpet tiles.
Takeaway
- Plan Your Layout: Decide on a pattern and measure your space carefully.
- Prepare the Subfloor: Ensure the floor is clean, dry, and level for best results.
- Start in the Center: Begin laying tiles from the middle of the room outwards.
- Use Adhesive Properly: Apply adhesive evenly for a strong, lasting bond.
- Cut Tiles Accurately: Use a utility knife for precise cuts around edges and obstacles.
To arrange carpet tiles, start by preparing a clean, level subfloor. Next, find the room’s center point and snap chalk lines to create a grid. Apply recommended adhesive to small sections, then lay tiles following your chosen pattern, ensuring each tile is pressed firmly for a secure fit, working from the center outwards.
Preparing Your Space for Carpet Tile Arrangement
Before you even think about picking up a carpet tile, preparing your space is vital. A good foundation ensures your new floor looks great and lasts a long time. I always make sure to clear the room completely first. Remove all furniture, existing flooring, and any baseboards if necessary. This gives you a clear workspace.
The subfloor must be clean, dry, and level. If your subfloor has dirt, dust, or debris, it can prevent the adhesive from sticking properly. I use a broom and then a vacuum cleaner to remove every bit of grime. Any moisture must also be fully dried out; moisture can lead to mold or mildew under your new tiles.
Leveling the subfloor is also a critical step. Small bumps or dips can make your carpet tiles look uneven or cause them to lift over time. I check for high spots and grind them down, or fill low spots with a leveling compound. This ensures a smooth, flat surface for your tiles. Taking these preparation steps now saves you problems later.
Consider the tools you will need before you start. Having everything ready makes the installation process much smoother. You will need a tape measure, chalk line, utility knife, straightedge, and a roller for pressing down tiles. Some projects might require a notched trowel for adhesive application. A clean, prepared space with the right tools sets you up for success.
Understanding Carpet Tile Types and Backing
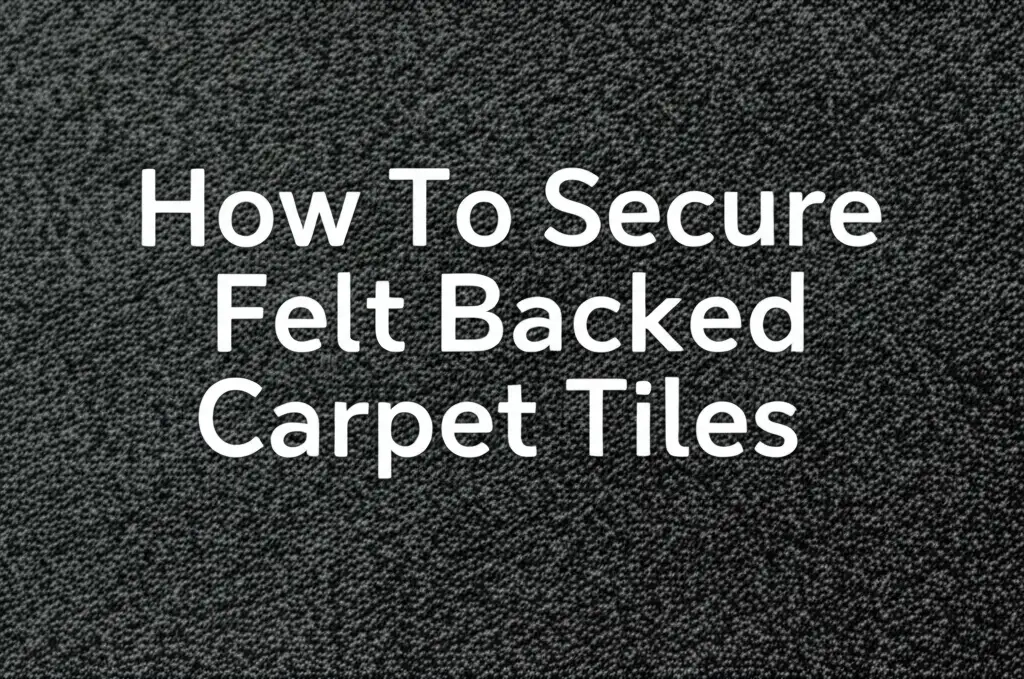
Carpet tiles come in many forms, and knowing the differences helps you choose the right product. The type of backing on your carpet tiles affects how you install them and how they perform. Some common backing types include felt, PVC, and bitumen. Each type has its own benefits and installation methods.
Felt-backed carpet tiles are often softer and more flexible. They can be easier to cut and might offer more insulation. However, they sometimes require specific adhesives or methods to secure them firmly. If you are using this type, it is good to know how to secure felt-backed carpet tiles for a lasting installation. Knowing your tile’s backing is key.
The pile direction is another important factor when you arrange carpet tiles. Many carpet tiles have a subtle pile direction, indicated by arrows on the back. You can use these arrows to create different visual effects. For instance, if all arrows face the same way, you get a uniform, broadloom carpet look. Turning tiles a quarter-turn creates a checkerboard pattern.
Different patterns are possible by simply rotating the tiles. Some tiles are designed to be laid in a monolithic pattern, meaning all arrows face the same direction. Others are made for quarter-turn installations, which means rotating every other tile 90 degrees. Always check the manufacturer’s recommendations for your specific tiles. This information guides your arrangement choices.
When choosing carpet tiles, think about the traffic in the area. High-traffic areas might benefit from more durable backings and dense pile. Low-traffic areas can use softer, more decorative tiles. Consider the material of the carpet fibers too. Nylon is very durable, while polypropylene is stain-resistant. Your choice of tile greatly impacts the final look and durability of your floor.
Designing Layouts and Patterns for Carpet Tiles
One of the best parts about carpet tiles is the freedom to create unique designs. You are not stuck with a single look like traditional broadloom carpet. Thinking about your desired layout before you begin installation is crucial. This planning helps ensure you order enough tiles and achieve the effect you want.
A common and easy pattern is the monolithic layout. Here, you lay all carpet tiles with the arrows pointing in the same direction. This creates a seamless appearance, much like a wall-to-wall carpet. It is simple, clean, and great for larger areas where you want a unified look. I often recommend this for beginners as it is straightforward.
The quarter-turn or checkerboard pattern is very popular. For this design, you rotate every other tile 90 degrees. This creates a distinct checkerboard effect, even if all tiles are the same color. It adds visual interest and can hide small imperfections in the subfloor more easily. It is a classic look that works well in many spaces.
Another interesting pattern is the ashlar or brick lay. This involves offsetting each row of tiles by half a tile length, similar to how bricks are laid on a wall. It creates a staggered, linear look that can make a room feel longer or wider. This pattern adds a more dynamic feel than a monolithic design. It provides a unique visual rhythm.
You can also get creative with color combinations. Imagine alternating dark and light tiles for a bold checkerboard. Or, use different shades of the same color to create subtle stripes or zones within a room. Some people even create custom designs, like borders or specific shapes. Always sketch out your desired pattern on paper first. This lets you visualize the final result and catch any issues early.
The Installation Process: Arranging Carpet Tiles Step-by-Step
Installing carpet tiles is a manageable DIY project. Following a clear step-by-step process helps ensure a smooth and successful outcome. I always start with finding the room’s center. This is your starting point and ensures your pattern expands evenly across the room. Measure each wall and find the midpoint, then snap chalk lines to mark the exact center.
Once your center point is marked, lay a few tiles loosely without adhesive. This “dry lay” helps you confirm your chosen pattern and see how the tiles will fit. It also lets you practice placing them before committing to the adhesive. You can adjust your starting point slightly if it means fewer cuts around the edges. This initial check is very important.
When you are ready to apply adhesive, follow the manufacturer’s instructions for your specific carpet tiles. Some tiles have self-adhesive backing, while others require a separate pressure-sensitive adhesive. Apply the adhesive to a small section of the floor, working your way out from the center. Do not cover the entire floor at once; the adhesive might dry before you can lay all the tiles.
Carefully place your first tile at the room’s center, aligning it with your chalk lines. Press it firmly into the adhesive. Then, lay the surrounding tiles, ensuring they fit snugly against each other. Pay attention to the pile direction arrows if your pattern requires it. Avoid leaving gaps between tiles, as this can lead to an unprofessional look and dirt accumulation.
As you work towards the walls, you will likely need to cut tiles to fit. Measure the remaining space accurately and mark the back of the tile. Use a sharp utility knife and a straightedge to make clean cuts. Always cut from the back of the tile to avoid damaging the pile. For a detailed guide on flooring projects, learning how to install carpet start to finish can provide broader insights into carpet installation techniques. Take your time with these cuts for a perfect finish.
Securing and Finishing Your Carpet Tile Arrangement
After laying all your carpet tiles, securing them properly is the next step. This ensures they stay in place and handle everyday traffic. I always recommend using a flooring roller or even just walking across the newly laid tiles. This pressure helps activate the adhesive and fully bond the tiles to the subfloor. A good roll ensures no air pockets are trapped underneath.
Pay special attention to the edges and doorways. These areas see a lot of traffic and can be prone to tiles lifting. If you used separate adhesive, make sure these perimeter tiles have a strong bond. For doorways, you might consider using transition strips. These strips create a smooth bridge between your new carpet tiles and the adjacent flooring. They also protect the edges of your carpet tiles from wear.
When you finish laying all the tiles, check for any visible gaps or misalignments. Sometimes a tile might shift slightly during installation. You can often gently adjust a tile if the adhesive has not fully cured. If a gap is too wide, you might need to lift and re-lay the tile. Taking this extra moment to inspect the work ensures a flawless finish.
Trimming around permanent fixtures like pipes or built-in cabinets requires careful measurement. Create templates out of cardboard if the shapes are complex. Then, transfer these shapes onto the back of your carpet tile and cut precisely. Accuracy here prevents unsightly gaps. A clean cut makes all the difference.
Finally, clean up any excess adhesive that may have squeezed out between the seams. This helps keep the overall look neat and professional. Use a damp cloth or the manufacturer’s recommended cleaner for adhesive residue. Once the adhesive is fully cured, your new carpet tile floor is ready for use. This complete process results in a beautiful and durable floor.
Troubleshooting Common Carpet Tile Arrangement Issues
Even with careful planning, sometimes small issues can arise when you arrange carpet tiles. Knowing how to fix these common problems saves time and frustration. One frequent issue is tiles not lying perfectly flat or having small gaps between them. This can happen if the subfloor is not perfectly level or if the tiles were not pressed down firmly.
If you notice a small gap, you can often gently push the tiles together while the adhesive is still tacky. If the adhesive has set, you might need to carefully lift the tile. Then, reapply a small amount of adhesive if needed and reset the tile firmly. Always check for debris or unevenness under the tile that might be preventing it from sitting flat. This often solves the issue.
Another common problem is tiles lifting at the edges or corners. This usually points to insufficient adhesive or a poorly prepped subfloor. If only a small section is lifting, you can try applying a small bead of appropriate adhesive underneath the edge. Then, press it down firmly, perhaps weighting it down until the adhesive cures. For more complex edge repairs, knowing how to fix carpet in doorway might offer similar techniques.
Dealing with spills and stains immediately prevents them from becoming permanent issues. Carpet tiles are great because you can replace a damaged tile if a stain becomes too deep to clean. However, for everyday spills, quick action is key. Many resources exist on how to handle spills, such as can vinegar take out beer in carpet or how to get coffee spill out of carpet.
If a tile becomes damaged beyond repair, the beauty of carpet tiles is easy replacement. Simply lift the damaged tile. Clean the area, apply new adhesive if needed, and insert a new tile from your spare stock. This modularity is a huge advantage over broadloom carpet. Keeping a few extra tiles on hand is always a smart idea for future repairs.
Maintaining Your Carpet Tile Arrangement for Longevity
Maintaining your carpet tile arrangement is easy and helps keep your floor looking new for years. Regular cleaning is the first and most important step. I vacuum my carpet tiles regularly, just like any other carpet. This removes loose dirt and dust before it can become embedded in the fibers. Frequent vacuuming extends the life of your carpet.
For deeper cleaning, knowing how carpet cleaning works can be very beneficial. You can spot clean spills as they happen. For general cleaning, you might use a carpet cleaning machine or professional services. Always check the manufacturer’s cleaning recommendations for your specific tiles. This helps avoid damaging the carpet fibers or backing.
Accidents happen, and spills are inevitable. The good news is that many common household stains can be treated effectively. For example, learning how to clean carpet stains pets is incredibly useful for pet owners. Acting fast is key for any spill. Blot, do not rub, the stain. This prevents spreading and pushing the stain deeper into the fibers.
Rotate tiles from high-traffic areas to low-traffic areas if possible. This helps distribute wear evenly across your floor. If certain tiles start to show more wear than others, you can swap them with tiles from under furniture or from less-used areas. This trick makes your entire floor last longer. It is a smart way to get more life from your investment.
Keeping a few spare carpet tiles on hand is a very wise decision. If a tile becomes severely stained, torn, or damaged beyond repair, you can simply replace it. This is much easier and cheaper than replacing an entire room of carpet. The ability to swap out individual tiles is a major benefit of choosing carpet tiles. It makes long-term maintenance simple and cost-effective.
FAQ Section
Q1: Do I need professional help to arrange carpet tiles? A1: No, you do not usually need professional help. Arranging carpet tiles is a popular DIY project. With proper planning, the right tools, and careful attention to detail, most homeowners can successfully install carpet tiles themselves. Our guide provides all the necessary steps. You can achieve a professional look on your own.
Q2: What is the best pattern for a beginner to lay carpet tiles? A2: For beginners, the monolithic pattern or the quarter-turn (checkerboard) pattern are the easiest. The monolithic pattern involves laying all tiles with arrows facing the same way, creating a uniform look. The quarter-turn pattern involves rotating every other tile 90 degrees, which is visually forgiving and simple to execute.
Q3: How long does it take to arrange carpet tiles in a room? A3: The time it takes varies based on room size and your experience. A small room (e.g., 10x10 feet) might take a few hours for one person. Larger rooms could take a full day or more. Proper preparation, like subfloor leveling, can add time. Cutting around obstacles also extends the process.
Q4: Do carpet tiles need adhesive? A4: Most carpet tiles require adhesive. Some tiles have a self-adhesive backing. Others need a separate pressure-sensitive adhesive applied to the subfloor. Always check the manufacturer’s instructions for your specific tiles. Adhesive ensures the tiles stay securely in place and do not shift or lift over time.
Q5: Can I install carpet tiles over existing flooring? A5: You can sometimes install carpet tiles over certain existing hard surfaces like concrete, plywood, or vinyl. The existing floor must be clean, dry, level, and structurally sound. You should never install carpet tiles over existing carpet or uneven surfaces. Always ensure a flat, stable base for best results.
Conclusion
Arranging carpet tiles truly offers a fantastic way to transform your living space. We have explored every step, from preparing your subfloor to securing and maintaining your new floor. You now know the importance of a clean, level surface and how different tile types impact your installation. My hope is you feel ready to tackle this project.
We also discussed popular patterns like monolithic and checkerboard designs. Remember, careful measuring and precise cutting lead to the best results. Carpet tiles provide flexibility, durability, and easy maintenance. The ability to replace individual tiles makes them a smart long-term investment for any home.
With the knowledge from this guide, you are well-equipped to arrange carpet tiles confidently. Take your time, follow the steps, and enjoy the creative process. Your new, beautiful floor is just a project away. Ready to refresh your space? Start planning your carpet tile arrangement today and bring your vision to life!
- carpet tiles
- DIY flooring
- carpet tile installation
- flooring patterns
- home improvement

Tessa Winslow
Cleaning Expert
With years of hands-on experience in home care and a love for transforming everyday spaces, I specialize in making cleaning feel approachable and even enjoyable. I share smart, sustainable solutions that blend cleaning, organization, and decor—so your home not only looks good, but feels good too. Whether you're tackling weekend chores or taking on a full DIY refresh, I’m here to help you create a cleaner, cozier space you’ll love coming home to.