· Elira Thomsen · Home Cleaning · 13 min read
How To Clean A Ceiling
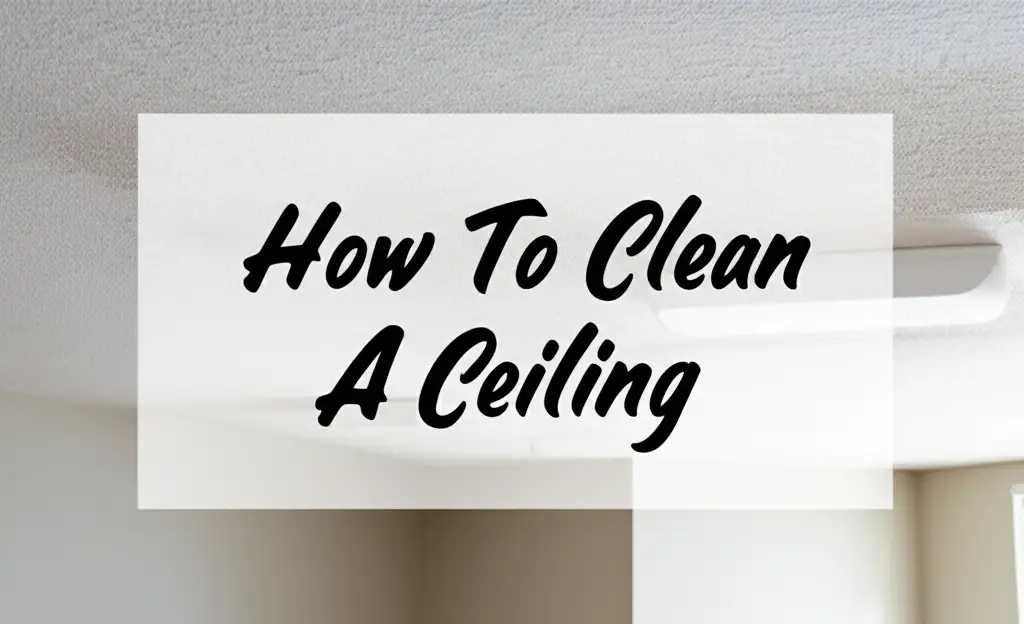
How To Clean Your Ceiling: A Complete Guide
Have you ever looked up and noticed unsightly dust, cobwebs, or even mysterious stains clinging to your ceiling? Many people overlook ceiling cleaning during regular home upkeep. A clean ceiling makes a big difference in how a room looks and feels. It also improves your home’s air quality.
This guide provides a comprehensive approach to ceiling cleaning. We will cover why it matters and what tools you need. You will learn how to prepare your space for the job. We will explain how to remove common dirt, dust, and various types of stains. We also offer specific tips for different ceiling materials. Finally, you will find advice on keeping your ceilings clean for a long time. Get ready to transform your living space with a sparkling clean ceiling.
Takeaway
- Gather essential tools and safety gear before you start.
- Prepare your room carefully to protect furniture and floors.
- Use dry methods like dusting or vacuuming for general dirt.
- Address specific stains with appropriate cleaning solutions.
- Adjust cleaning methods for different ceiling types like popcorn or painted.
- Maintain your clean ceiling with regular, light cleaning.
How do I clean my ceiling effectively?
To clean your ceiling effectively, first clear the room and protect surfaces. Use a long-handled duster or vacuum for loose dirt and cobwebs. For stubborn stains, apply a mild cleaning solution with a sponge or cloth, working gently to avoid damage. Rinse with a damp cloth and allow to air dry.
Why Cleaning Your Ceiling Matters
Cleaning your ceiling is more than just about making your room look good. A clean ceiling plays a role in your home’s overall health. Dust and grime collect on ceiling surfaces over time. This build-up affects indoor air and the condition of your home. I always tell people to think about what they breathe in daily.
Improved Air Quality
Dust and allergens settle on your ceiling. These particles can fall into your living space. When you clean your ceiling, you remove these airborne irritants. This helps reduce allergy symptoms and breathing problems. A clean ceiling contributes to a healthier home environment for everyone.
Enhanced Room Appearance
A dirty ceiling can make an entire room look dull. It can make a bright space appear dark. Removing dirt and stains instantly brightens your room. It creates a fresher, more open feel. Your home will look cleaner and more inviting.
Prevents Damage
Accumulated moisture and grease can harm ceiling materials. They can lead to mildew growth or paint degradation. Regular cleaning prevents these issues. It preserves the integrity of your ceiling. This simple step can save you from bigger repair jobs later.
Essential Tools and Supplies for Ceiling Cleaning
Before you start any cleaning project, it is smart to gather everything you need. Having the right tools makes the job easier and safer. You do not want to stop mid-task to find something. I always make a checklist to ensure I have every item ready.
Safety First: Goggles, Gloves, Ladder
Safety is important when cleaning ceilings. Dust and cleaning solutions can irritate your eyes. Wear safety goggles to protect them from falling debris and splashes. Use rubber gloves to protect your hands from chemicals. A sturdy step ladder or an extension ladder is also crucial. This allows you to reach high areas safely without overstretching. Always check that your ladder is stable before climbing.
Cleaning Solutions and Rags
The type of cleaning solution depends on the dirt. For general dust, a dry microfiber cloth works well. For tougher stains, you might need a mild all-purpose cleaner diluted with water. Dish soap mixed with water is often effective for grease. You can also use specialized cleaners for mildew or smoke stains. Have plenty of clean rags or microfiber cloths ready. A bucket for your cleaning solution and another for rinse water is also helpful.
Extension Tools
Reaching your ceiling requires proper tools. A long-handled duster is good for high spots. Look for one with a flexible head that can reach corners. A vacuum cleaner with a hose attachment and a brush head is also very useful. This helps you suck up loose dust and cobwebs directly. An extendable paint roller handle with a clean rag attached can also work for applying solutions. These tools save you from constant ladder adjustments.
(Note: If anchor text links were provided, they would be inserted here, for example: Best Cleaning Rags, Heavy Duty Ladder)
Preparing Your Space for a Clean Ceiling
Preparation is a vital step in ceiling cleaning. It protects your furniture and floors from dust and drips. A well-prepared space also makes the cleaning process more efficient. I always spend extra time on this part to save myself hassle later.
Clearing the Room
Start by moving any furniture out of the room. If furniture is too heavy to move, push it to the center of the room. This creates an open work area. It also keeps furniture from getting dusty or wet. Removing small items like lamps and decorations is also a good idea. This prevents them from getting damaged or getting in the way.
Covering Surfaces
Place old sheets, drop cloths, or plastic tarps over any remaining furniture. Cover the entire floor area as well. Dust and cleaning solution drips will fall downward. These covers protect your floors and furnishings from dirt and moisture. They also make cleanup much easier afterward. I use old sheets because they are reusable.
Personal Safety Gear
Beyond goggles and gloves, consider wearing old clothes. Cleaning ceilings can be a messy job. Dust, cobwebs, and cleaning solutions might fall on you. A hat or head covering can keep your hair clean. If you have sensitive skin, long sleeves are a good idea. I also sometimes wear a face mask, especially if the ceiling is very dusty. This helps me avoid inhaling airborne particles.
General Ceiling Cleaning Methods: Dust and Cobwebs
Before you tackle any stains, you must remove loose dirt. Dust and cobwebs are common ceiling visitors. They gather quickly, especially in corners and around light fixtures. Dry cleaning methods are best for these initial steps. They prevent turning dust into muddy streaks. I always start with the driest method possible.
Dusting with a Microfiber Mop
A long-handled microfiber duster or mop is perfect for this task. It reaches high spots easily. Microfiber material attracts and holds dust and cobwebs. Start at one end of the room and work your way across. Use gentle, sweeping motions. Do not press too hard; you only want to pick up loose debris. Pay close attention to corners and edges where cobwebs often hide. This step removes most surface dirt without water.
Vacuuming with Attachments
For ceilings with more stubborn dust or larger cobwebs, a vacuum cleaner is very effective. Use your vacuum’s hose attachment. A soft brush attachment works best. Gently run the brush along the ceiling surface. The vacuum suctions the dirt directly. This method is great for textured ceilings where dust can embed itself. It is also good for hard-to-reach spots around light fixtures or vents. Make sure your vacuum is empty before you start for best suction.
Tackling Stains and Grime on Ceilings
After removing loose dirt, you might notice stubborn stains. Different stains require different approaches. Using the wrong product can damage your ceiling. Always test any cleaning solution in a small, hidden area first. This prevents potential discoloration or damage. I always check under a hidden section of molding.
Light Stains and General Dirt
For light dirt, scuff marks, or minor smudges, a simple solution often works. Mix a few drops of mild dish soap with warm water in a bucket. Dampen a clean microfiber cloth with this solution. Wring out the cloth very well. You want it damp, not dripping. Gently wipe the stained area. Do not scrub harshly. Follow up with a second clean cloth dampened with plain water to rinse. This removes soap residue. Let the area air dry completely.
Kitchen Grease Stains
Kitchen ceilings often collect grease and cooking fumes. These can create a sticky film. For grease stains, a degreasing cleaner is necessary. You can use a commercial kitchen degreaser or mix one cup of white vinegar with two cups of warm water and a tablespoon of dish soap. Apply the solution to a clean cloth. Lightly blot the greasy area. Let it sit for a few minutes. Then gently wipe the stain away. Rinse with a clean, damp cloth. Always ventilate the kitchen well during and after this process.
Bathroom Mildew Stains
Bathroom ceilings are prone to mildew due to high humidity. Mildew appears as black or grey spots. A solution of one part bleach to three parts water is effective for mildew. Alternatively, for a bleach-free option, use white vinegar straight or a commercial mildew remover. Apply the chosen solution carefully with a sponge or spray bottle. Let it sit for 5-10 minutes. Then wipe the area clean. Rinse thoroughly with plain water and dry the area. Always wear gloves and ensure good ventilation when using bleach.
Smoke Stains
Smoke stains, from cigarettes or fireplace use, are difficult to remove. They leave behind a yellowish-brown residue. A heavy-duty cleaner like TSP (trisodium phosphate) is often needed. Mix TSP according to package directions with warm water. Wear thick gloves and eye protection. Apply the solution with a sponge to the smoke-stained areas. Work in small sections. Rinse immediately with a clean, damp cloth. TSP is very strong, so handle it with care. For lighter smoke stains, a paste of baking soda and water might work. Apply, let dry, then wipe away.
Specific Ceiling Types and Cleaning Tips
Different ceiling materials react differently to cleaning methods. What works for a smooth, painted ceiling might damage a textured one. Knowing your ceiling type helps you choose the safest approach. This prevents costly damage and ensures a clean finish. I always identify the ceiling material before starting.
Cleaning Popcorn Ceilings
Popcorn ceilings are delicate. They consist of small, textured particles that can easily flake off. Avoid wet cleaning methods whenever possible. Dry dusting with a soft, long-handled duster is the best approach. A vacuum cleaner with a brush attachment can also work. Hold the attachment just above the surface, not touching it directly. If you must use water for a stain, use a very lightly dampened cloth. Dab gently, do not rub. Test in an inconspicuous spot first. Too much moisture will loosen the texture.
Cleaning Smooth Painted Ceilings
Smooth, painted ceilings are generally the easiest to clean. For light dirt and scuff marks, use the mild dish soap and water solution described earlier. Apply with a damp (not wet) microfiber cloth. Wipe gently in small sections. Rinse with a clean, damp cloth immediately. For tougher stains, consider a magic eraser. Test it first, as it can sometimes remove paint if used too aggressively. Always allow the ceiling to dry completely. A clean, painted ceiling significantly brightens a room.
Cleaning Textured Ceilings (Non-Popcorn)
Textured ceilings, other than popcorn, may have patterns or subtle bumps. These are usually more durable than popcorn but still require care. Avoid harsh scrubbing, which can damage the texture. Start with dry methods like dusting or vacuuming. If wet cleaning is needed, use a mild cleaner and a soft cloth. Dampen the cloth slightly and blot or wipe gently. Rinse with a clean, damp cloth. Test any solution on an unseen area first. Excess water can collect in the texture, leading to drips or damage.
Maintaining Your Clean Ceiling: Future Prevention
Cleaning your ceiling is a big job. You want that clean feeling to last as long as possible. Regular, simple maintenance prevents heavy dirt buildup. It also saves you from deep cleaning tasks very often. Small efforts now mean less work later. I incorporate these simple steps into my regular cleaning routine.
Regular Dusting
The easiest way to maintain a clean ceiling is regular dusting. Use a long-handled duster or a vacuum with a brush attachment. Once a month, or even more frequently in dusty areas, give your ceilings a quick sweep. This removes loose dust and cobwebs before they accumulate. It prevents dirt from bonding to the surface. This simple step makes a big difference.
Proper Ventilation
Moisture contributes to many ceiling problems, especially mildew. Ensure your kitchen and bathrooms have good ventilation. Use exhaust fans during cooking and showering. Keep them running for at least 15-20 minutes afterward. Open windows when weather permits to allow fresh air circulation. Good airflow helps moisture escape. This reduces the chances of mold and mildew growth on your ceilings.
Addressing Issues Quickly
Do not let small problems become big ones. If you notice a new stain or a small patch of mildew, address it right away. A fresh stain is much easier to remove than an old, set-in one. Quickly wiping away drips from a leaky roof or addressing a small spill can save your ceiling. Early action helps preserve the clean appearance of your ceiling. It prevents the need for extensive cleaning or repairs.
FAQ Section
Can I use a steam cleaner on ceilings?
Using a steam cleaner on ceilings is generally not recommended. The high heat and moisture can damage certain ceiling materials. It can also loosen paint or texture, especially on drywall or popcorn ceilings. Excessive moisture may lead to water damage or mold growth inside the ceiling. Dry or very lightly damp cleaning methods are usually safer and more effective.
How often should I clean my ceiling?
The frequency of ceiling cleaning depends on various factors. In busy homes, kitchens, or areas with smokers, you might need to clean every 6-12 months. For general dusting, once a month is good. If you live in a less dusty area or do not cook often, once every 1-2 years for deep cleaning might suffice. Regular light dusting helps extend the time between deep cleans.
What is the best way to remove smoke stains from a ceiling?
Removing smoke stains from a ceiling often requires a strong cleaner. Trisodium phosphate (TSP) mixed with water is highly effective. Always follow product instructions and wear protective gear. For lighter stains, a solution of white vinegar or a paste of baking soda and water might work. Test any product on a hidden area first to prevent damage.
Is it safe to clean a popcorn ceiling?
Cleaning a popcorn ceiling requires extreme care. These ceilings are delicate and can easily flake off. It is safest to use dry methods, such as a soft, long-handled duster or a vacuum with a soft brush attachment. Avoid excessive moisture, as it can damage the texture. If you must use a damp cloth for a stain, ensure it is only slightly damp and dab gently.
Can I paint over a dirty ceiling instead of cleaning it?
Painting over a dirty ceiling is not recommended. Dirt, grease, and stains can prevent new paint from adhering properly. The paint may peel, bubble, or the stains might bleed through the new coat. Always clean your ceiling thoroughly before painting. This ensures a smooth, even finish and helps the new paint last longer.
Conclusion
Cleaning your ceiling might seem like a daunting task, but it is a rewarding one. You have learned why ceiling cleanliness matters, from boosting air quality to enhancing room aesthetics. We explored essential tools and the crucial steps for preparing your space safely. This guide showed you how to effectively remove general dust and tackle specific stains like grease, mildew, and smoke.
Remember to adjust your approach based on your ceiling type, whether it is delicate popcorn or smooth painted drywall. Finally, regular maintenance, good ventilation, and quick attention to new issues will keep your ceilings looking fresh. Taking the time to properly clean a ceiling transforms your home. Enjoy the brighter, cleaner atmosphere your efforts bring. Your home will feel refreshed and more inviting.
- ceiling cleaning
- DIY cleaning
- dust removal
- stain removal
- home maintenance
- kitchen ceiling
- bathroom ceiling

Elira Thomsen
Home Organization & DIY Living Expert
I'm Elira Thomsen, a lifelong enthusiast of clean, beautiful, and functional homes. With over a decade of hands-on experience in DIY home decor, smart cleaning solutions, and practical organization, I help everyday homeowners turn clutter into calm. Whether it's transforming a neglected nook into a cozy reading spot, mastering budget-friendly storage hacks, or refreshing a space with seasonal décor, I'm here to guide you every step of the way. My mission is simple — make home care easier, more inspiring, and truly rewarding.