· Elira Thomsen · Home Cleaning · 16 min read
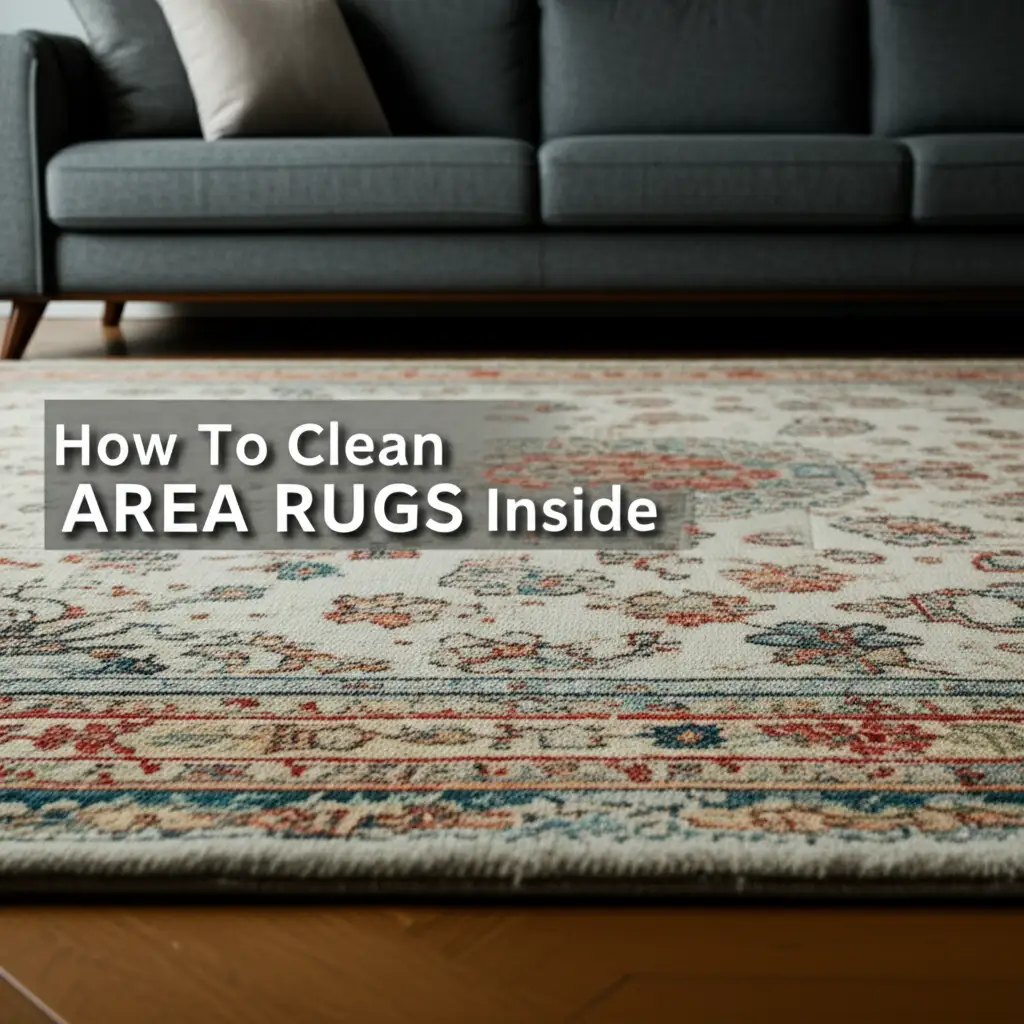
How To Clean A Rug By Hand
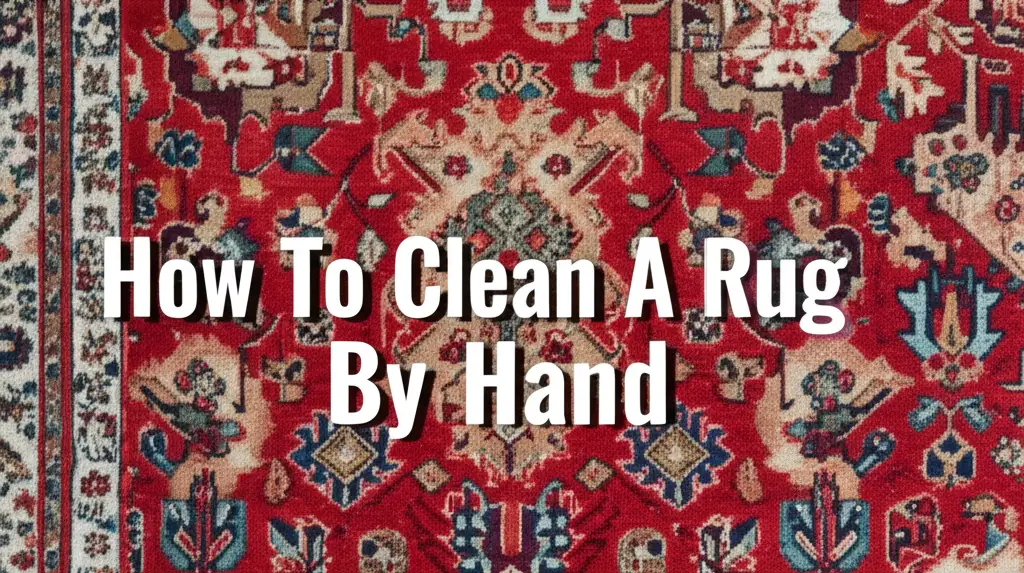
Easy Steps: How To Clean A Rug By Hand
Rugs add warmth and style to any room. Over time, they collect dirt and dust. Learning how to clean a rug by hand can keep your home looking fresh. This method is gentle and effective for many rug types. It helps maintain their beauty and extends their life.
This article will show you the simple steps to hand wash your rug. We will discuss what rugs you can clean at home. We will cover gathering supplies, preparing your rug, and the actual washing process. You will also learn about proper rinsing and drying. By the end, you will feel ready to give your rugs a deep, fresh clean yourself.
Takeaway:
- Hand wash rugs carefully to protect their fibers.
- Always test cleaning solutions on a hidden spot first.
- Proper drying prevents mold and fiber damage.
- Regular maintenance keeps rugs cleaner for longer.
To clean a rug by hand, first check its care tag to ensure it is washable. Remove loose dirt by shaking or vacuuming. Spot treat any stains. Then, gently wash the rug using a mild solution, rinse it thoroughly, and dry it completely flat or hung to prevent damage.
1. Understand Your Rug: Is Hand Washing Right?
Before you start cleaning, you must know your rug. Not all rugs are suitable for hand washing. Some materials, like silk or antique rugs, need professional care. They are delicate and can easily get damaged. You can usually hand wash rugs made from wool, cotton, or synthetic fibers. These materials handle water well. Always check the care label on your rug first. This label gives important instructions. It tells you what the rug is made of and how to clean it.
Hand washing your rug offers many benefits. It is a gentle process. This helps preserve the rug’s colors and fibers. It also avoids harsh chemicals often found in machine cleaning. Hand cleaning lets you focus on dirty areas. You get to control the amount of water and cleaner used. This method is also cost-effective. You save money by not sending rugs to a professional often. This is a great way to keep your home tidy on a budget. You also get a sense of accomplishment.
Small to medium-sized rugs are best for hand cleaning. Large rugs can become too heavy when wet. They are hard to handle and dry. If your rug is too big, consider cleaning it in sections. Or, you might need a professional for very large pieces. Always put safety first. Make sure you have enough space to work. Also, have a helper if the rug feels heavy.
2. Gather Essential Supplies for Hand Cleaning
Having the right tools makes how to clean a rug by hand much easier. You do not need many special items. Most of these things you might already have at home. Getting everything ready before you start saves time. It also prevents you from stopping halfway through the process. Your cleaning experience will be smooth and efficient.
Here is a list of what you will need:
- Vacuum cleaner: This removes loose dirt and debris. Use a powerful one to get deep into the fibers.
- Stiff brush or broom: For beating out dust. This is an old but effective method.
- Mild liquid detergent: Choose one made for delicate fabrics or rugs. Avoid harsh chemicals or bleach. These can damage rug fibers and colors.
- Two clean buckets: One for soapy water, one for rinse water. Make sure they are big enough.
- Clean sponges or soft brushes: For scrubbing the rug surface. A soft brush works well for deeper dirt.
- Clean towels or old sheets: For soaking up excess water. You will need many of these.
- Access to fresh water: A garden hose works best for rinsing outdoors. A bathtub is fine for smaller rugs.
- Optional: fan or dehumidifier: These help speed up drying, especially indoors.
- Optional: spray bottle: For applying spot treatment solutions evenly.
I always check my supplies before I begin. This way, I know I have everything. Choosing the right detergent is very important. I look for something gentle, with no strong perfumes. This keeps my rugs safe and prevents skin irritation. Remember, a little goes a long way with cleaning solutions.
3. Prepare Your Rug: Removing Loose Dirt
Preparation is a key step in how to clean a rug by hand. You must remove all loose dirt and debris before applying any water. Skipping this step can turn dirt into mud. This makes the cleaning process much harder. It can also push dirt deeper into the rug fibers. A good pre-clean sets you up for success.
First, take your rug outside if you can. Hang it over a fence or clothesline. Use a stiff broom or a rug beater to beat the rug. Hit it firmly but not harshly. You will see dust clouds come out. Keep beating until little dust appears. This gets rid of dry dirt, dust mites, and pet hair. If you cannot go outside, shake the rug vigorously. Do this in a garage or basement.
After beating, vacuum both sides of the rug. Use a powerful vacuum cleaner. Go over the rug multiple times. Change directions to pick up more embedded dirt. Pay extra attention to high-traffic areas. These spots collect the most grime. This step ensures that you start with a rug free from loose particles. It makes the wet cleaning process more effective.
Before you apply any cleaning solution, perform a colorfastness test. Mix a small amount of your chosen detergent with water. Dab this mixture onto a small, hidden area of the rug. The back corner is a good spot. Wait a few minutes. Then, blot it with a clean white cloth. If any color transfers to the cloth, stop. This means your rug’s dyes are not colorfast. You will need professional cleaning instead. If no color transfers, you are ready to proceed. This test protects your rug from potential damage.
4. Spot Treatment: Address Stains Before Washing
Addressing specific stains before you start the main wash is smart. Spot treatment helps lift tough marks. It prevents them from spreading during the full wash. Different types of stains need different approaches. Act quickly when you find a new stain. Fresh stains are always easier to remove. This step is a big part of learning how to clean a rug by hand effectively.
For most fresh spills, blot the area immediately with a clean cloth. Do not rub. Rubbing pushes the stain deeper into the fibers. For liquid stains, blot until no more liquid comes up. For solid messes, gently scrape away excess material first. Use a dull knife or spoon. Then, you can start with a cleaning solution.
Here are some common stain types and how to treat them:
- Food and Drink Stains: Mix a small amount of mild dish soap with cool water. Dampen a clean cloth with this solution. Gently blot the stain from the outside in. Repeat until the stain fades. Rinse the cloth often.
- Grease Stains: Sprinkle cornstarch or baking soda on the stain. Let it sit for 15-30 minutes. This powder absorbs the grease. Then, vacuum up the powder. Follow with the mild soap and water method if needed.
- Pet Stains: Use an enzyme cleaner designed for pet odors and stains. Follow the product instructions carefully. Enzyme cleaners break down the organic matter. This removes both the stain and the smell. Make sure to blot thoroughly afterward.
- Mud Stains: Let the mud dry completely. Once dry, scrape off the excess mud gently. Then vacuum the area. If a mark remains, use the mild soap and water method.
Always work from the outer edge of a stain toward the center. This stops the stain from spreading. Be patient and repeat the blotting process as needed. Avoid saturating the rug too much. Excess water can damage the rug’s backing. After treating, blot the area with clean water to rinse. Then, blot dry with a clean towel.
5. The Gentle Art of Hand Washing Your Rug
Now comes the main event of how to clean a rug by hand. This part requires patience and a gentle touch. You want to clean the rug, not damage it. Find a clean, flat surface to work on. A large patio, a garage floor, or a clean tarp works well. Make sure the area is free from dirt and sharp objects. This protects your rug while it is wet and vulnerable.
Here are the steps for the main wash:
- Prepare Your Cleaning Solution: Fill one bucket with cool or lukewarm water. Add a small amount of mild liquid detergent. Stir it until it mixes well. You want suds, but not too many. Too much soap is hard to rinse out.
- Wet the Rug: Gently wet a section of your rug with clean water. You can use a hose on a gentle setting or a sponge. Do not soak the entire rug at once. Work in small sections. This gives you more control.
- Apply Cleaning Solution: Dip your soft brush or sponge into the soapy water. Begin scrubbing the wet section of the rug. Move the brush in the direction of the rug’s pile. Be gentle. Do not use too much pressure. Focus on one small area at a time. Work the solution into the fibers. Watch as the dirt lifts away.
- Work in Sections: Continue this process across the entire rug. Wet a new section, apply the solution, and gently scrub. Overlap your sections slightly. This ensures no spot is missed.
- Check Your Water: As you clean, your soapy water will get dirty. Change the water and mix a new solution when it looks too murky. Clean water makes for a cleaner rug. I always keep an eye on the water’s color. It tells me how much dirt I am removing.
Remember, the goal is to clean the surface and fibers. You do not need to drench the rug. Gentle scrubbing is more effective than harsh scrubbing. Harsh scrubbing can damage the rug’s structure. Take your time with this step. A thorough wash here means a much cleaner rug in the end.
6. Rinsing Your Rug Thoroughly for Best Results
Rinsing is just as important as washing when you clean a rug by hand. If you leave soap in the fibers, it will attract dirt. This makes your rug get dirty faster. Proper rinsing ensures your rug feels soft and stays clean for longer. This step requires plenty of fresh water. Be prepared to spend some time on it.
Here is how to rinse your rug effectively:
- Remove Excess Soap Water: After scrubbing, you will have soapy water sitting on the rug. Use a squeegee or the back of a stiff brush to push this soapy water off the rug. Work from one end to the other. Push the water towards a drain or off the edge of your cleaning surface. Repeat this a few times. This removes most of the suds.
- Rinse with Clean Water: Use a garden hose with a gentle spray nozzle. Start rinsing the rug with clean, cool water. Begin from the top and work your way down. Let the water run through the rug fibers. You want to flush out all the soap.
- Check for Suds: Look for suds. Keep rinsing until you see no more bubbles or suds coming from the rug. This can take several passes. It is easy to think you are done, but soap can hide deep in the fibers. I keep rinsing until the water runs completely clear.
- Flip and Rinse Other Side (if applicable): For smaller rugs, flip them over. Rinse the underside as well. This helps flush out any dirt or soap that may have seeped through. Make sure water flows freely from both sides.
- Squeegee Again: Once you finish rinsing, use your squeegee or brush again. Push as much water out of the rug as possible. This speeds up the drying process. Water is heavy. Removing it now will make the rug lighter and easier to handle.
Thorough rinsing protects your rug. It keeps the fibers from feeling stiff or sticky. It also prevents dirt from sticking to soap residue. Do not rush this part. A well-rinsed rug is a clean rug.
7. Drying Your Hand-Washed Rug Correctly
Proper drying is the most crucial step after you clean a rug by hand. Incorrect drying can ruin your rug. It can lead to mold, mildew, or damage to the rug’s backing. It can also cause colors to bleed or fibers to shrink. You must ensure the rug dries completely and evenly. This keeps it in good shape and smelling fresh.
Here is the best way to dry your hand-washed rug:
- Remove Most Water: After rinsing and squeegeeing, your rug will still hold a lot of water. Lay it flat on a clean, dry surface. Roll the rug tightly from one end. As you roll, step on it or press down. This pushes out more water. Unroll it, then roll it again from the other end. Repeat this process a few times. For smaller rugs, you can also press them between several clean towels. Walk on the towels to absorb water.
- Prepare the Drying Area: Choose a spot with good air circulation. Outdoors in a shaded, breezy area is ideal. Avoid direct sunlight, as it can fade colors or damage fibers. If drying indoors, use a garage or a room with fans and open windows. Place the rug on a clean, elevated surface. You can use plastic crates, sawhorses, or even chairs. This allows air to circulate underneath the rug. Air movement is key to fast drying.
- Position the Rug: Lay the rug flat or hang it. If hanging, make sure the support is strong enough for the wet rug’s weight. Distribute the weight evenly. Do not fold the rug. Folding traps moisture. This can lead to mildew. If you lay it flat, raise it off the ground.
- Promote Airflow: Use fans or a dehumidifier if drying indoors. Point the fans towards and under the rug. This moves air around the rug and speeds drying. Turn the rug over every few hours. This exposes both sides to the air.
- Check for Dryness: It can take 24 to 72 hours for a rug to dry completely. This depends on its thickness and humidity levels. Feel the rug’s backing and fibers. They must be bone dry to the touch. Any dampness means mold can grow. I always feel the very center of the rug, as that is often the last part to dry. Do not put the rug back on your floor until it is completely dry.
Patience is vital during drying. Rushing this step is a common mistake. A properly dried rug smells fresh and lasts longer.
8. Final Touches and Ongoing Rug Care
After your rug is completely dry, you are almost done. The final touches help restore its look and prepare it for use. Ongoing care keeps your rug cleaner for longer. This reduces how often you need to clean a rug by hand. It also protects your investment.
Here are the final steps and tips for ongoing care:
- Fluff the Pile: Once the rug is dry, its pile might look flattened. Use a soft brush or your hands to gently brush the fibers. Brush in the direction of the pile. This fluffs it up and restores its original texture. It makes the rug feel soft underfoot again.
- Vacuum Thoroughly: Give the rug a final vacuuming. This picks up any loose fibers or small bits of dirt that settled during drying. It also helps to lift and refresh the pile. A clean vacuum is important for this step.
- Place Back in Position: Return your fresh, clean rug to its spot. You will notice a big difference. The colors will look brighter, and the rug will smell fresh.
- Regular Vacuuming: Vacuum your rug regularly. For high-traffic areas, vacuum several times a week. For less used areas, once a week is fine. This prevents dirt from building up deep in the fibers. It makes future deep cleans easier.
- Rotate Your Rug: Rotate your rug every 6-12 months. This ensures even wear. It also exposes different parts of the rug to light. This helps prevent fading in one spot.
- Use a Rug Pad: Place a good quality rug pad underneath your rug. A rug pad keeps the rug from slipping. It also adds cushioning. More importantly, it protects the rug’s backing from wear. It also helps with airflow underneath. This can prevent moisture buildup from the floor.
- Address Spills Quickly: Always clean spills immediately. Do not let them sit. Follow the spot treatment advice from earlier. Quick action prevents stains from setting.
By following these simple steps, you can keep your hand-washed rug beautiful. Regular care makes a big difference. It extends the life of your rug. It also keeps your home looking its best.
FAQ Section
Q1: Can I use a regular laundry detergent to hand wash my rug?
No, it is best to avoid regular laundry detergent. These often contain strong chemicals or brighteners. They can strip colors or damage rug fibers. Always use a mild liquid detergent. Look for one specifically for delicate fabrics or rugs. This choice protects your rug’s dyes and texture.
Q2: How often should I hand wash my rug?
The frequency depends on how much traffic your rug gets. For high-traffic areas, a deep hand wash every 12-18 months is good. For rugs in less used rooms, every 2-3 years might be enough. Regular vacuuming helps extend the time between deep cleans. Spot clean spills as they happen.
Q3: What if my rug still smells after cleaning?
A persistent smell after cleaning often means the rug did not dry completely. Mold or mildew can grow from trapped moisture. Ensure the rug is bone dry before placing it back. For lingering odors, try sprinkling baking soda on the dry rug. Let it sit for a few hours, then vacuum it up.
Q4: Can I use a steam cleaner instead of hand washing?
Some rugs can be steam cleaned, but it is not the same as hand washing. Steam cleaners use hot water and pressure. This can be too harsh for some delicate rugs. Always check your rug’s care label before using a steam cleaner. Hand washing gives you more control and is generally gentler.
Q5: What is the best way to test for colorfastness?
To test colorfastness, mix a small amount of your cleaning solution with water. Dab this mixture onto a hidden part of the rug, like a corner on the back. Let it sit for a few minutes. Then, blot the area with a clean white cloth. If any color comes off onto the cloth, do not proceed with the wash.
Conclusion
Learning how to clean a rug by hand is a valuable skill for any homeowner. It gives you control over the cleaning process. It allows for gentle care of your cherished rugs. You can maintain their beauty and extend their life. We covered everything from choosing the right rug for hand washing to the final drying steps. Each step plays an important role.
Remember to prepare your rug well by removing loose dirt. Treat any stains before the main wash. Be gentle during the washing and rinsing. Most importantly, ensure the rug dries completely to prevent damage. A clean rug improves the look and feel of your home. It brings a fresh, inviting atmosphere. Regular care will keep your rugs looking great for many years. Start your rug cleaning project today and enjoy the results.
- rug cleaning
- hand washing rugs
- home care
- DIY cleaning
- rug maintenance

Elira Thomsen
Home Organization & DIY Living Expert
I'm Elira Thomsen, a lifelong enthusiast of clean, beautiful, and functional homes. With over a decade of hands-on experience in DIY home decor, smart cleaning solutions, and practical organization, I help everyday homeowners turn clutter into calm. Whether it's transforming a neglected nook into a cozy reading spot, mastering budget-friendly storage hacks, or refreshing a space with seasonal décor, I'm here to guide you every step of the way. My mission is simple — make home care easier, more inspiring, and truly rewarding.