· Elira Thomsen · Home Cleaning · 18 min read
How To Clean Top Loader Washing Machine

Restore Your Top Loader: A Complete Cleaning Guide
Have you noticed your “clean” laundry still smells a bit off? Does your top loader washing machine have a musty odor? Many people overlook cleaning the appliance that cleans their clothes. Over time, detergent residue, fabric softener, dirt, and mildew build up inside your washing machine. This buildup leads to bad smells and can even transfer grime onto your clothes.
Learning how to clean a top loader washing machine is simple. This guide provides step-by-step instructions. We will cover natural cleaning methods using vinegar and baking soda. We will also discuss using bleach for deeper sanitization. You will learn how to clean all parts of your machine, from the drum to the dispenser. Follow these tips to keep your top loader fresh and ensure your laundry comes out truly clean.
Takeaway:
- Regularly cleaning your top loader washing machine prevents odors and grime.
- Use white vinegar and baking soda for effective, natural cleaning.
- Bleach offers a powerful option for sanitizing and mold removal.
- Remember to clean all components: drum, dispenser, agitator, and exterior.
- Proper maintenance ensures fresh laundry and extends your machine’s life.
To clean a top loader washing machine, you run hot water cycles with cleaning agents. First, use white vinegar to break down mineral deposits and odors. Next, add baking soda to scrub away residue and absorb smells. Finally, wipe down all surfaces and removable parts to ensure a spotless interior.
Why Cleaning Your Top Loader Is Essential for Fresh Laundry
Your top loader washing machine works hard to clean your clothes. However, dirt, soap scum, and mineral deposits can build up inside it. This buildup creates a breeding ground for bacteria and mildew. These germs cause unpleasant odors that transfer to your freshly washed laundry. A dirty machine cannot truly clean your clothes.
Over time, this accumulation also reduces your washing machine’s efficiency. Residue clogs hoses and slows water drainage. It can leave marks on clothes or make fabrics feel stiff. Regular cleaning helps your machine run better. It also makes your appliance last longer. Think of it as a reset button for your laundry routine.
Many people use too much detergent or fabric softener. These products leave behind a sticky film. This film traps dirt and moisture, encouraging mold growth. If you live in an area with hard water, mineral deposits also form. These deposits look like white crusts and can damage machine parts. Cleaning removes these issues.
A clean machine means cleaner clothes. It also means less energy waste. When your machine works efficiently, it uses less water and power. This saves you money on utility bills. Cleaning your washing machine is not just about smell; it is about performance and hygiene. It ensures every load of laundry starts truly clean.
Gathering Your Cleaning Arsenal: What You Will Need
Before you start cleaning your top loader washing machine, collect all necessary supplies. Most items are common household products. You do not need specialized or harsh chemicals for most cleaning jobs. Using the right tools makes the process easier and more effective. Be prepared to ensure a smooth cleaning session.
Here is a list of what you will need:
- White Vinegar: This is a natural disinfectant and deodorizer. Its acidic nature breaks down mineral deposits and soap scum. Vinegar helps remove musty smells effectively. You will need a few cups for a cleaning cycle.
- Baking Soda: This acts as a gentle abrasive and odor absorber. It helps scrub away grime and neutralizes sour smells. Baking soda works well with vinegar to lift tough dirt. You will use about half a cup.
- Bleach (Optional): Use bleach for severe mold or sanitization. It kills bacteria and brightens the machine drum. Always use bleach carefully and never mix it with vinegar. We will discuss its use in a separate section.
- Microfiber Cloths: These cloths are good for wiping surfaces. They pick up dirt and moisture well. Have a few clean cloths ready for scrubbing and drying.
- Spray Bottle: A spray bottle is useful for mixing a diluted vinegar solution. You can then spray hard-to-reach areas. It helps apply cleaner evenly.
- Old Toothbrush or Small Brush: Use this tool to scrub tight spots. It works well for crevices, the detergent dispenser, and under the agitator. A small brush reaches where cloths cannot.
- Warm Water: You will use warm water for mixing solutions and rinsing. It helps dissolve cleaning agents and washes away dirt.
- Bucket or Bowl: Use a bucket or bowl for soaking removable parts like the detergent dispenser. This helps loosen tough grime before scrubbing.
Having these items ready saves time. It ensures you can complete the entire cleaning process without interruption. Prepare your cleaning station before you begin.
Deep Cleaning Your Top Loader with Vinegar and Baking Soda
This method is highly effective for routine cleaning and odor removal. It uses natural ingredients. White vinegar and baking soda work together to break down grime. They also kill bacteria and neutralize smells. This process cleans the machine’s inner workings. It leaves your top loader fresh and ready for laundry.
Preparing Your Machine
First, make sure your washing machine is empty. Remove any clothes or items from inside the drum. Next, fill the machine with hot water on the largest load setting. Set the water level to its highest point. This ensures enough water to circulate the cleaning agents thoroughly. Hot water helps dissolve grime and activate the cleaning power of vinegar.
You should also ensure the dispenser trays are empty. This is a good time to wipe around the drum’s rim. Use a damp cloth to remove any visible gunk. This initial wipe prevents large debris from re-entering the machine during the cleaning cycle. Preparing your machine properly sets the stage for a successful deep clean.
The Vinegar Wash
Once the machine fills with hot water, add four cups of white vinegar directly into the drum. Do not add detergent. Close the lid and let the machine agitate for a few minutes. This mixes the vinegar thoroughly with the hot water. After agitation, pause the wash cycle. Leave the water and vinegar mixture to soak in the drum for at least one hour. For heavily soiled machines, you can let it soak for several hours or even overnight. This soaking time allows the vinegar to dissolve soap scum, mineral deposits, and mold.
While the machine soaks, clean the outside. Wipe down the control panel and the lid with a cloth dampened with a vinegar-water solution. You can mix one part vinegar with one part water in a spray bottle. This solution cleans external surfaces. You can also clean the interior of the lid and around the top rim of the drum. Pay attention to any rubber seals or gaskets. These areas often trap mildew. The vinegar soak addresses the internal drum. This external cleaning ensures your entire machine is spotless.
Baking Soda Power
After the soaking period, open the lid and add half a cup of baking soda directly into the water. Close the lid and resume the wash cycle. Allow the machine to complete the full wash and rinse cycles. The baking soda helps to scrub away loosened dirt. It also neutralizes any lingering vinegar smell. Baking soda acts as a gentle abrasive. It helps lift away stubborn grime from the drum’s surface.
As the cycle finishes, the machine drains the dirty water. The rinse cycle then washes away any remaining residue. Once the cycle ends, wipe down the inside of the drum with a clean, dry cloth. This ensures no moisture remains, which helps prevent future mildew growth. You can also refer to our general guide on how to clean wahsing machine for more tips. Your top loader should now smell fresh and look much cleaner. This combination of vinegar and baking soda provides a powerful, natural deep clean.
Using Bleach for a Powerful Top Loader Clean
Sometimes, a top loader washing machine needs a stronger cleaning agent. Bleach provides powerful sanitization. It kills mold, mildew, and bacteria. Bleach also brightens the machine’s interior. You should use bleach carefully. Always use it alone, never mix it with other cleaners, especially vinegar. Mixing bleach with other cleaners creates dangerous fumes.
When to Use Bleach
You should use bleach for your top loader in specific situations. Use it if your machine has visible mold growth. This often appears as black spots on the agitator or drum. Bleach is also good if strong, persistent odors remain even after a vinegar and baking soda wash. It acts as a disinfectant. It helps to kill yeast and bacterial growth. If someone in your household has been sick, a bleach wash can sanitize the machine. This ensures germs do not transfer to other laundry loads.
Bleach is more aggressive than vinegar. Do not use it too often. A quarterly bleach cleaning is usually sufficient for most households. If you clean your machine regularly with vinegar and baking soda, you might not need bleach often. Use it as a powerful solution for significant mold or odor problems. This keeps your machine hygienically clean.
Bleach Cleaning Steps
First, ensure your washing machine is completely empty. Close the lid. Set your top loader to the hottest water setting. Choose the largest load size. Add one cup of liquid chlorine bleach to the detergent dispenser. You can also add it directly into the wash drum. Start the cycle. Let the machine agitate for a few minutes to mix the bleach with the water.
Then, pause the cycle and let the bleach solution soak for at least 30 minutes. This allows the bleach to penetrate and kill germs. After soaking, allow the machine to complete the full wash cycle. The machine will drain the bleach water. It will then perform rinse cycles. These rinses are important. They ensure all bleach residue is flushed out. This prevents bleach from accidentally staining your next load of laundry.
After the cycle, run an extra rinse cycle without any cleaner. This step provides an added layer of safety. It removes any remaining bleach film. Finally, wipe down the inside of the drum with a clean, damp cloth. This removes any lingering moisture and checks for residue. Your top loader is now sanitized and ready for use. This powerful cleaning method ensures your machine is free from stubborn bacteria and mold.
Don’t Forget the Details: Cleaning Specific Top Loader Components
Cleaning the main drum is important. But a truly clean top loader washing machine needs attention to its smaller parts. These areas often collect detergent residue, fabric softener, and grime. Overlooking them can lead to odors and inefficient machine performance. Regular cleaning of these specific components keeps your machine spotless. It also prevents cross-contamination to your laundry.
Cleaning the Detergent Dispenser
The detergent and fabric softener dispenser is a common spot for buildup. Liquid detergents and softeners can leave a sticky film. Powdered detergents can solidify into a crust. This residue can clog the dispenser. It prevents your laundry products from dispensing properly. This means your clothes might not get enough detergent to clean them well.
To clean it, first, check if your dispenser is removable. Many top loader dispensers lift right out. If it removes, take it out and soak it in a sink or bucket of hot, soapy water. Use an old toothbrush or small brush to scrub away any residue. Pay close attention to all corners and crevices. If your dispenser is not removable, pour hot, soapy water directly into it. Let it sit for 15-20 minutes. Then, use a toothbrush to scrub inside the compartments. Wipe thoroughly with a damp cloth. You can also learn more about what goes where in a washing machine to ensure proper use of your dispenser. A clean dispenser ensures laundry products reach your clothes effectively.
Tackling the Agitator Area
The agitator is the central column in many top loader washing machines. It twists to move clothes through the water. Grime, lint, and even lost small items can accumulate around its base. If your machine has an agitator, you should clean it carefully. Use a spray bottle filled with a vinegar-water solution. Spray around the base of the agitator. Use a microfiber cloth or an old toothbrush to scrub away any visible residue.
Some agitators are removable, allowing for a more thorough clean underneath. If you are comfortable, you can carefully remove the agitator. You might need to consult your washer’s manual for specific instructions. Once removed, clean the agitator thoroughly with a vinegar solution and brush. Also, clean the area where the agitator sits. For detailed instructions on how to clean this part, check out our guide on how to clean washing machine agitator. If you need to remove the central part, you can also refer to how to remove middle part of washing machine. A clean agitator ensures clothes move freely and get cleaned properly.
Wiping Down the Drum and Exterior
After running the cleaning cycles, give the drum a final wipe. Use a clean, dry microfiber cloth. Wipe down the entire interior surface of the drum. Pay attention to the top rim and any creases. This removes any remaining moisture or residue. Leaving the drum slightly damp can encourage mildew growth.
Next, clean the exterior of your top loader. Use a multi-purpose cleaner or a diluted vinegar solution. Wipe down the lid, control panel, and sides of the machine. Remove any dust, spills, or fingerprints. A clean exterior contributes to a fresh-smelling laundry area. It also makes your appliance look well-maintained. Do not forget to wipe underneath the lid as well. This area often collects lint and dust.
Inspecting and Cleaning the Lint Filter
Many top loader washing machines have a lint filter. Its location varies by model. Some are located on the agitator. Others are found along the top rim of the drum. This filter traps lint and debris from your clothes. If clogged, it reduces the machine’s efficiency. It can also leave lint on your laundry.
Check your machine’s manual to find your lint filter’s exact location. Once located, remove it carefully. Clean any trapped lint or debris by hand. You might need to rinse it under running water. Use an old toothbrush to scrub away stubborn gunk. Once clean, place the lint filter back into its proper position. Cleaning this filter regularly ensures effective lint removal during wash cycles. This keeps your clothes looking cleaner.
Maintaining a Fresh Top Loader: Regular Care Tips
Cleaning your top loader washing machine regularly is key. But you can do many small things between deep cleans to keep it fresh. These simple habits prevent odors and buildup. They also extend the life of your appliance. Incorporating these tips into your routine saves you time and effort in the long run.
Leave the Lid Open After Use
This is perhaps the simplest and most effective tip. After each load of laundry, leave the top loader’s lid open for a few hours. This allows air to circulate inside the drum. It helps the interior dry completely. Moisture trapped inside a closed machine creates a damp, dark environment. This is perfect for mold and mildew growth. Air circulation prevents musty smells from developing.
Use the Right Amount of Detergent
Using too much detergent is a common mistake. Excess detergent does not rinse away fully. It leaves a sticky residue inside your machine. This residue traps dirt and provides food for mold. Always follow the detergent manufacturer’s recommendations. Adjust the amount based on your load size and water hardness. Using high-efficiency (HE) detergent in an HE top loader is important. Even if your top loader is not HE, using less detergent is often better.
Don’t Overload Your Machine
Stuffing too many clothes into your top loader can strain the motor. It also prevents proper water circulation. Clothes need space to move freely to get clean. Overloading also means detergent and dirt do not rinse away completely. This leaves residue in the machine and on your clothes. Always leave enough space for the clothes to tumble and agitate properly.
Wipe Down Surfaces Regularly
Quickly wipe the machine’s surfaces after each use. Use a damp cloth to clean the top rim of the drum. Wipe the agitator and the inside of the lid. These are areas where lint and residue often accumulate. This quick wipe prevents grime from building up. It makes your deeper cleaning sessions easier.
Check Pockets Before Washing
Small items left in pockets can damage your washing machine. Coins, tissues, or even small toys can get caught. They can block drains or get stuck in the agitator. Always check pockets before adding clothes to the washer. This protects your machine from damage. It also prevents blockages that can lead to dirty water problems.
Perform Monthly Maintenance Washes
Even with daily care, perform a quick maintenance wash once a month. Run an empty cycle with hot water and a cup of vinegar. This helps flush out minor buildup. It keeps the machine’s pipes and drum clear. This simple monthly routine helps prevent serious odor problems. It keeps your machine in top working condition.
Consider Water Hardness
If you have hard water, mineral deposits will build up faster. Hard water contains more minerals that leave scale inside your machine. You might need to clean your top loader more often. You can also use water softener additives with your laundry. These products reduce mineral buildup. This helps keep your machine cleaner for longer periods. Consistent care makes a big difference.
Troubleshooting Common Top Loader Cleaning Issues
Even with regular cleaning, you might sometimes encounter problems. A stubborn odor or persistent residue can be frustrating. Knowing how to troubleshoot these common issues helps you resolve them quickly. This ensures your top loader washing machine remains in top condition. You want your laundry to always come out truly clean.
Persistent Odors After Cleaning
If your top loader still smells musty after a cleaning cycle, the problem might be deeper.
- Check the Drain Hose: A common culprit for persistent odors is a dirty or clogged drain hose. Mildew and stagnant water can collect here. Disconnect the drain hose if you can and check for any blockages or buildup. Clean it with a long brush or flush it with hot water and vinegar. Reconnect it securely.
- Inspect Rubber Seals and Gaskets: Top loaders often have rubber seals around the lid or drum opening. These can trap water, lint, and mildew. Pull back the seals carefully and clean thoroughly with a toothbrush and a bleach solution (if safe for your machine’s materials, or vinegar).
- Run Another Cleaning Cycle: Sometimes, one cycle is not enough for a very dirty machine. Run another hot water cycle with either bleach or vinegar. Let it soak longer this time. If using vinegar, consider a full overnight soak.
- Consider Professional Cleaning: If odors persist despite your best efforts, a professional appliance technician might be needed. They can inspect for hidden issues. These might include internal blockages or failing parts that trap water.
Stubborn Mold Spots
Black mold spots can be tough to remove. They often appear on the agitator or dispenser.
- Bleach Solution for Spot Treatment: Mix a small amount of bleach with water (1 part bleach to 4 parts water). Dip an old toothbrush or cotton swab into the solution. Carefully scrub the mold spots directly. Let it sit for a few minutes. Then wipe clean. Make sure the area is well-ventilated.
- Repeat Treatment: You might need to repeat the spot treatment multiple times for severe mold. Scrub firmly and reapply the solution until the mold is gone.
- Prevent Future Mold: After cleaning, always leave the lid open after use. This allows the machine to dry out completely. Consider running a hot water cycle with bleach once a month if mold is a recurring issue.
Machine Residue After Cleaning
Sometimes, you might find white residue or flakes in the drum after a cleaning cycle.
- Extra Rinse Cycle: This residue is usually dissolved mineral deposits or detergent buildup. Run one or two extra rinse cycles. Do this without any cleaning agents. This flushes out any remaining particles from the machine.
- Wipe Down Thoroughly: After the extra rinses, wipe down the drum’s interior again with a clean, damp cloth. This ensures all loose particles are removed.
- Adjust Detergent Use: If you regularly see residue, you might be using too much detergent. Reduce the amount slightly for your everyday loads. This prevents excessive buildup.
- Hard Water Treatment: If you have very hard water, consider using a water softener product with your laundry. This reduces mineral buildup in the machine over time.
By addressing these common issues, you can keep your top loader clean. This also ensures it performs its best for all your laundry needs.
Frequently Asked Questions About Cleaning Top Loaders
Keeping your top loader washing machine clean leads to fresher laundry. Many common questions arise about this task. Here are answers to some of the most frequently asked questions.
How often should I clean my top loader washing machine?
You should clean your top loader washing machine every one to three months. For households with heavy use, hard water, or frequent odor issues, monthly cleaning is best. Regular maintenance prevents grime and mold from building up. This schedule keeps your machine fresh.
Can I use dish soap to clean my washing machine?
No, you should not use dish soap to clean your washing machine. Dish soap creates too many suds. These suds can overflow your machine. They can also leave a lot of residue behind. Stick to recommended cleaners like vinegar, baking soda, or bleach for safe and effective cleaning.
What causes a top loader to smell bad?
A top loader smells bad due to moisture trapped inside, leading to mold and mildew growth. Detergent and fabric softener residue also builds up. This residue provides a food source for bacteria. Hard water deposits can also contribute to odors and grime.
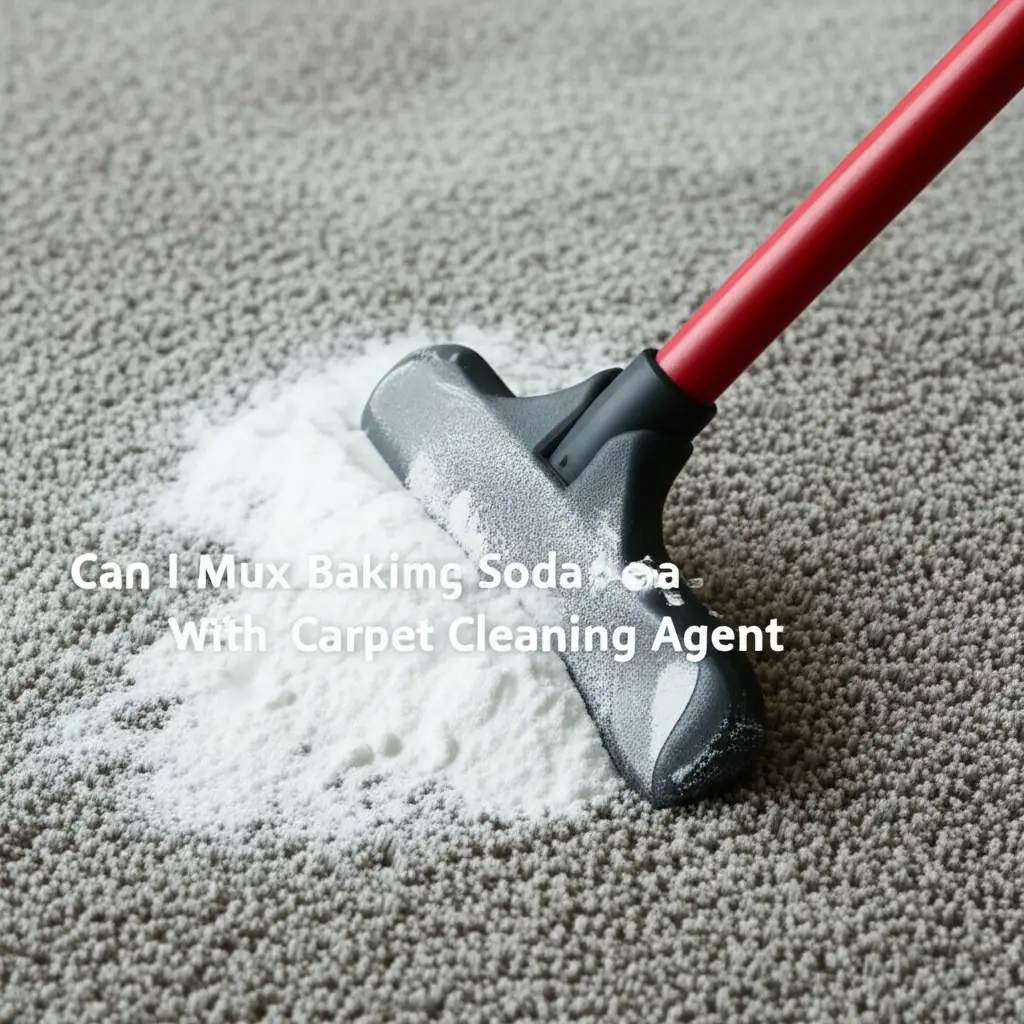
Is it safe to mix vinegar and bleach when cleaning?
Absolutely not. You must never mix vinegar and bleach. Combining
- top loader washing machine
- washing machine cleaning
- appliance maintenance
- laundry tips
- home cleaning
- mold removal
- odor removal

Elira Thomsen
Home Organization & DIY Living Expert
I'm Elira Thomsen, a lifelong enthusiast of clean, beautiful, and functional homes. With over a decade of hands-on experience in DIY home decor, smart cleaning solutions, and practical organization, I help everyday homeowners turn clutter into calm. Whether it's transforming a neglected nook into a cozy reading spot, mastering budget-friendly storage hacks, or refreshing a space with seasonal décor, I'm here to guide you every step of the way. My mission is simple — make home care easier, more inspiring, and truly rewarding.