· Elira Thomsen · Kitchen Cleaning · 11 min read
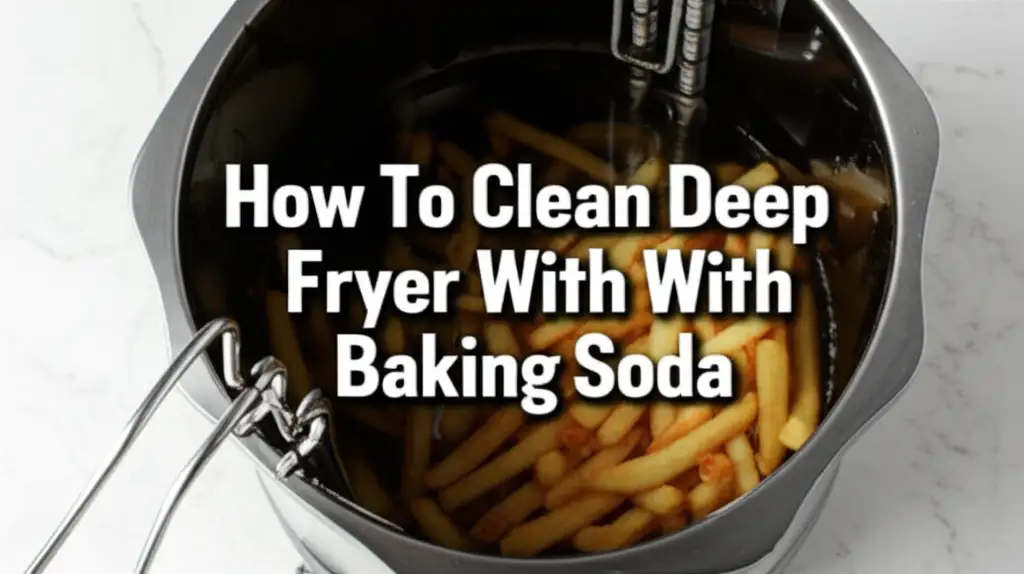
How To Clean Deep Fryer With Baking Soda
Deep Fryer Cleaning: The Baking Soda Method
Introduction: Unleash Baking Soda’s Power for Your Fryer
Deep fryers bring joy to our kitchens, offering crispy treats and delicious meals. However, cleaning them can feel like a daunting task. Stubborn grease and lingering odors often make us dread maintenance. But what if I told you there is a simple, eco-friendly way to make your deep fryer sparkle again? You can easily clean your deep fryer with baking soda. This common pantry staple holds powerful degreasing and deodorizing properties. It offers a natural solution for even the toughest build-up. In this guide, I will share the step-by-step process. You will learn how to prepare your fryer, mix the perfect cleaning solution, and tackle every nook and cranny. Get ready to transform your fryer cleaning routine.
Takeaway: Restore Your Fryer’s Shine Naturally
- Always unplug and cool the fryer completely before starting.
- Remove excess oil and large food debris first.
- Use baking soda and water to create a powerful degreasing paste or solution.
- Scrub all parts thoroughly, focusing on greasy areas.
- Rinse well to remove all residue and dry completely to prevent rust.
Clear Answer: How To Clean Deep Fryer With Baking Soda
You can effectively clean a deep fryer with baking soda by creating a powerful paste or solution. Baking soda’s abrasive and odor-neutralizing properties break down tough grease and absorb smells. Apply the mixture, scrub the surfaces, and rinse thoroughly. This method leaves your fryer clean and fresh without harsh chemicals.
The Power of Baking Soda for Deep Fryer Cleaning
Baking soda, also known as sodium bicarbonate, is a true champion for kitchen cleaning. It is gentle yet effective. This white powder acts as a mild abrasive, helping to scrub away stuck-on food and hardened grease. Beyond its scrubbing power, baking soda also neutralizes odors. This is particularly useful for deep fryers that often retain the smell of old oil. Using baking soda helps ensure a fresh start for your next batch of fried food. It is also a safe, non-toxic, and environmentally friendly option.
Many commercial cleaners contain harsh chemicals. These chemicals can be irritating and leave residues. Baking soda offers a natural alternative. It works by reacting with fatty acids in grease. This reaction helps to dissolve the grease, making it easier to wipe away. I find this method works wonders for general kitchen upkeep. It is a simple science at play, transforming sticky messes into easy-to-remove residue. This natural approach protects your appliance and your health. It is a smart choice for a clean home.
Essential Preparations Before You Start Cleaning
Before you begin the cleaning process, safety is paramount. Make sure your deep fryer is unplugged from the wall outlet. Never attempt to clean a hot fryer. The oil can cause severe burns, and hot surfaces pose a risk. Allow the appliance to cool down completely. This may take several hours, especially after heavy use. Patience is key for a safe cleaning experience.
Once cool, remove all the old cooking oil. You can pour it into an old container for disposal. Do not pour oil down your sink, as it can clog pipes. After removing the bulk of the oil, scrape out any large food particles or crumbs. A rubber spatula or paper towels work well for this step. Dismantle the fryer as much as possible. This includes removing the heating element, basket, lid, and any other removable parts. Separating these pieces allows for thorough cleaning of each component. This careful preparation makes the cleaning job much easier and more effective. It sets the stage for getting into every corner.
Crafting Your Baking Soda Cleaning Solutions
Baking soda is versatile. You can use it in different forms to tackle various levels of dirt in your deep fryer. For general grime and odor neutralization, a simple baking soda solution works well. Mix about half a cup of baking soda with one gallon of hot water in a large bucket or sink. Stir until the baking soda dissolves. This solution is great for soaking removable parts. The hot water helps to loosen grease, while the baking soda works its magic.
For tougher, caked-on grease, a thick baking soda paste is your best friend. Combine baking soda with a small amount of water. Add water slowly until you get a thick, spreadable consistency, like toothpaste. This paste provides concentrated cleaning power. You can apply it directly to stubborn spots. The abrasive nature of the paste helps to scrub away baked-on residue without scratching surfaces. I often use this paste for areas that have seen a lot of frying action. This dual approach ensures you have the right tool for every cleaning challenge. Having both options ready makes cleaning easier.
Step-by-Step Deep Cleaning with Baking Soda
Now it’s time to put your baking soda solutions to work. Begin by applying the baking soda paste to heavily greased areas inside the fryer pot and on removable parts. Let the paste sit for at least 15-30 minutes. For very stubborn grease, you might let it sit for an hour or even overnight. This gives the baking soda time to break down the oil. While the paste works, soak the removable parts, like the basket and lid, in the baking soda solution you prepared earlier.
After the soaking time, start scrubbing. Use a non-abrasive sponge or a soft brush for the interior of the fryer. For the basket, a stiff brush or an old toothbrush can reach tricky spots. Apply a bit of effort. You will see the grease and grime lift away. For particularly challenging spots, reapply the paste and scrub again. This is where the power of baking soda truly shines. Remember to be gentle on non-stick coatings if your fryer has them. This process is similar to how you might clean other kitchen appliances. For instance, cleaning your refrigerator also involves tackling food residues. Or consider how you would clean a deep freezer; you need to thaw and remove everything first before cleaning the interior.
Rinsing, Drying, and Reassembling Your Fryer
Once you have scrubbed every part of your deep fryer, thorough rinsing is crucial. Use warm water to rinse off all the baking soda residue and loosened grease. You may need to rinse several times to ensure all traces are gone. For the main fryer body, wipe it down with a damp cloth until no baking soda remains. This step is important because any leftover residue could affect the taste of your food or even cause issues during future frying. I always make sure the water runs clear from the basket and other parts.
After rinsing, drying is the next critical step. Moisture can lead to rust, especially on metal components. Use clean, dry towels to wipe down all parts thoroughly. For areas that are hard to reach, you can use paper towels or even air dry them. Make sure every single part is completely dry before reassembling. This prevents rust and prolongs the life of your deep fryer. Once everything is dry, put your deep fryer back together. Now your fryer is ready for its next use, looking and smelling fresh. Proper drying is as vital as the scrubbing itself.
Tackling Lingering Odors and Tough Stains
Even after a good scrub, some deep fryers can retain a slight odor from years of use. Baking soda is excellent at absorbing smells. If you notice a lingering odor, you can try an extra step. Sprinkle a thin layer of dry baking soda over the bottom of the empty, dry fryer pot. Let it sit overnight, or even for a few days, with the lid off. The baking soda will absorb any remaining stale oil smells. Then, simply vacuum or wipe it out before using the fryer again. This method works wonderfully for neutralizing stubborn odors.
For any persistent stains, a more concentrated baking soda paste can be applied. Mix less water with the baking soda to create a very thick paste. Apply it directly to the stain and let it sit for a few hours. Then, scrub with a brush. Sometimes, a combination of baking soda and white vinegar can tackle very tough, baked-on grease. Apply the baking soda paste, then spray vinegar over it. The fizzing reaction helps to lift the grime. Rinse well afterward. This powerful duo can conquer almost any stain. Think of it like a specialized treatment for your appliance. It ensures your fryer is not just clean, but truly fresh.
Maintaining Your Deep Fryer: Beyond Deep Cleaning
Regular maintenance is key to keeping your deep fryer in top condition and making deep cleaning less of a chore. After each use, allow the oil to cool completely. Then, strain the oil through a fine-mesh sieve or cheesecloth to remove food particles. This extends the life of your oil and keeps the fryer cleaner. Wipe down the interior of the fryer with a paper towel to remove immediate grease splatter. This simple act prevents grease from hardening and becoming difficult to remove later.
Consider a quick clean every few uses. Instead of a full deep clean, wipe down the inside with a solution of warm water and a little dish soap. Rinse well and dry completely. This keeps everyday grime from building up. Baking soda can be used for these lighter cleanings too. A sprinkle in hot water can help degrease the basket quickly. Regular care means you avoid those daunting, once-a-year cleaning marathons. It also ensures your fryer performs better and lasts longer. A clean appliance is a happy appliance. For example, similar principles apply to maintaining other kitchen components, such as when you clean a dishwasher vent; regular wiping prevents hard buildup. Keeping your home clean extends to all parts, even areas like cleaning your air vents to improve air quality.
FAQs About Cleaning Deep Fryers with Baking Soda
Is baking soda safe for all deep fryer types?
Yes, baking soda is generally safe for most deep fryer types, including those with non-stick coatings. Its mild abrasive nature helps clean without scratching. Always test a small, hidden area first if you have concerns, especially with unique finishes. It is a non-toxic and gentle cleaner.
How often should I deep clean my deep fryer?
The frequency depends on how often you use your fryer. For occasional users, a deep clean every 1-2 months is sufficient. If you use it frequently, aim for a deep clean every 2-4 weeks. Regular daily wiping after use also helps reduce the need for intense deep cleaning.
Can I use vinegar with baking soda for extra cleaning power?
Yes, you can use vinegar with baking soda, but do so carefully. Apply the baking soda first, then spray or pour vinegar over it. The fizzing reaction can help lift tough grease. Always rinse thoroughly with water afterwards to remove all residue and neutralize the acid from the vinegar.
What if the grease is extremely hardened?
For extremely hardened grease, apply a thick baking soda paste and let it sit for several hours, or even overnight. You might also try gently heating the empty fryer (unplugged and cool to touch, just slightly warm from residual heat) before applying the paste to help loosen the grease. Scrape gently with a plastic scraper.
Does baking soda remove the smell of old oil?
Yes, baking soda is very effective at neutralizing odors. It absorbs smells instead of just masking them. After cleaning, if an odor remains, sprinkle dry baking soda in the fryer and leave it overnight. Then, wipe it out before using. This helps eliminate stale oil smells.
Can I put deep fryer parts in the dishwasher after baking soda cleaning?
Some removable deep fryer parts are dishwasher-safe. Check your fryer’s manual. Even if they are, a thorough hand wash with baking soda and then a rinse is often more effective for heavy grease. Using the dishwasher after a baking soda clean can help ensure full sanitization, but always confirm compatibility.
Conclusion: A Sparkling Fryer, Naturally
Cleaning your deep fryer does not have to be a messy, chemical-laden chore. By harnessing the simple yet mighty power of baking soda, you can achieve remarkable results. This natural cleaning agent effectively breaks down stubborn grease, eliminates lingering odors, and leaves your appliance sparkling clean. I find immense satisfaction in
- Deep Fryer Cleaning
- Baking Soda Cleaning
- Grease Removal

Elira Thomsen
Home Organization & DIY Living Expert
I'm Elira Thomsen, a lifelong enthusiast of clean, beautiful, and functional homes. With over a decade of hands-on experience in DIY home decor, smart cleaning solutions, and practical organization, I help everyday homeowners turn clutter into calm. Whether it's transforming a neglected nook into a cozy reading spot, mastering budget-friendly storage hacks, or refreshing a space with seasonal décor, I'm here to guide you every step of the way. My mission is simple — make home care easier, more inspiring, and truly rewarding.