· Tessa Winslow · Home Improvement · 11 min read
How To Sealing Basement Concrete Floor Before Carpet
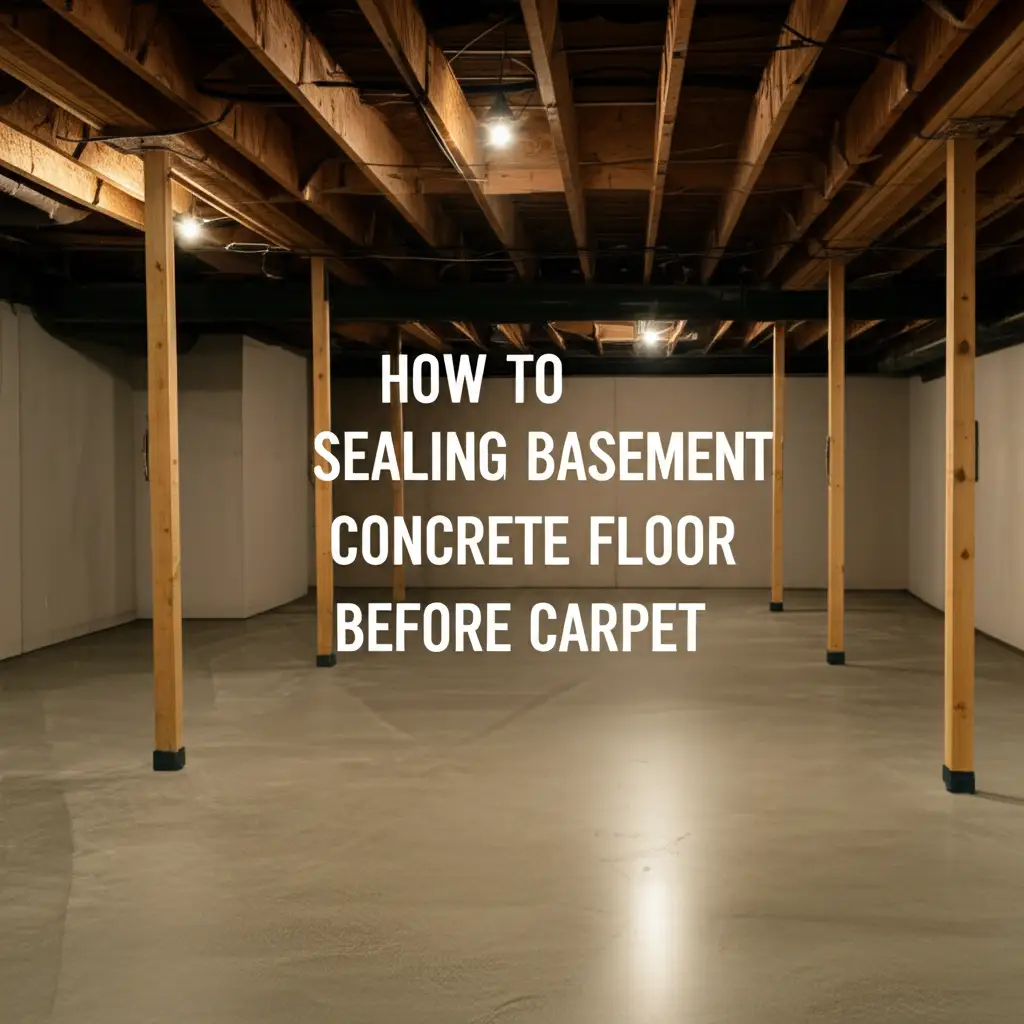
Protecting Your Carpet: Sealing Basement Concrete Floors
A basement offers extra living space. Many people want to make their basement comfortable with carpet. But before you lay down soft carpet, you must prepare the concrete floor. Sealing basement concrete floor before carpet is a vital step. This process stops moisture from rising through the concrete. It keeps your new carpet safe from damage.
This article guides you through the entire sealing process. We explain why sealing matters for your home. We look at different sealer types and how to pick the best one. You will learn about preparing the floor, applying the sealer, and maintaining it. We aim to give you the knowledge you need for a dry, healthy basement floor. Your carpet will stay beautiful for many years.
Takeaway
- Seal your basement concrete floor to prevent moisture damage to carpet.
- Choose the correct type of concrete sealer for your basement needs.
- Thorough floor preparation ensures the sealer works well.
- Proper application techniques are key for effective moisture barrier.
- Maintain your sealed floor and manage basement humidity for lasting protection.
To seal a basement concrete floor before carpet installation, clean the floor thoroughly, patch any cracks, perform a moisture test, and then apply a high-quality concrete sealer or vapor barrier. This creates a protective layer against moisture, preventing mold, mildew, and damage to your new carpet.
Why Sealing Basement Concrete Floors is Essential for Carpet
Basement concrete floors often have moisture problems. Concrete is a porous material. It lets water vapor pass through it from the ground. This moisture can cause big issues for any flooring installed directly on top. Your carpet is especially at risk in a basement environment.
Moisture promotes mold and mildew growth. These organisms thrive in damp, dark places. Mold spores can affect air quality inside your home. They can also cause health problems for people with allergies or asthma. A damp concrete floor creates a perfect home for mold under your carpet.
Dampness also harms the carpet itself. It can cause a musty smell. The carpet backing and fibers can break down over time. This shortens the life of your carpet. Your investment in new flooring goes to waste without proper protection. Sealing the concrete floor stops this moisture. It creates a barrier between the ground and your living space. This makes your basement a healthier and more comfortable area.
Types of Concrete Sealers: Selecting the Right Solution
Many kinds of sealers exist for concrete floors. Each type offers different benefits. Knowing the differences helps you pick the right one for your basement. The most common types are penetrating sealers, topical sealers, and epoxy coatings.
Penetrating sealers soak into the concrete. They react with chemicals inside the concrete. This creates a waterproof barrier within the material itself. These sealers do not change the look of the concrete. They are good for high-moisture situations. They offer a strong defense against water vapor. Silicates and silanes are common types of penetrating sealers. They last a long time.
Topical sealers form a protective film on the surface. They can be clear or colored. These sealers often provide a hard, durable surface. Acrylic and polyurethane sealers are examples. They also block moisture. Some topical sealers add a slight sheen to the concrete. They are easier to apply than penetrating sealers. You can find them in many home improvement stores.
Epoxy coatings are another option. They are thicker and more durable than other sealers. Epoxy creates a very strong, non-porous surface. It provides excellent moisture resistance. Epoxy is often used in garages or industrial settings. It gives a very finished look. Applying epoxy requires more steps and careful mixing. It is a good choice for basements that need maximum protection. Consider your basement’s specific moisture levels when choosing.
Detailed Preparation for Basement Floor Sealing
Proper preparation is the most important step for sealing. The sealer will not work if the floor is dirty or damaged. First, clear the entire area. Remove all furniture, existing flooring, and debris. This gives you a clear workspace.
Next, clean the concrete floor deeply. Use a stiff brush and a concrete cleaner. You can find special cleaners at hardware stores. These cleaners remove dirt, grime, and oil. Make sure the floor is spotless. Rinse the floor well after cleaning. Let it dry completely. You can learn more about deep cleaning concrete surfaces here: How To Clean Concrete Sidewalk.
Inspect the floor for cracks or holes. Concrete often cracks over time. Fill any cracks with a concrete patching compound. Follow the product directions carefully. Smooth the patch flush with the floor surface. Allow the patch to dry fully before moving on. A smooth, even surface is crucial for sealer adhesion.
Finally, perform a moisture test. This confirms if your floor has a moisture problem. It also helps you choose the right sealer. A simple test involves taping a 2x2 foot piece of plastic sheeting to the floor. Seal all four edges with duct tape. Leave it for 24-72 hours. Check for condensation under the plastic. If you see condensation, moisture is present. This indicates that sealing is essential.
Step-by-Step Guide to Applying Concrete Sealer
Applying concrete sealer correctly ensures maximum protection. Always read the sealer manufacturer’s instructions. These instructions give specific details for your chosen product. General steps apply to most sealers.
First, ensure proper ventilation. Open windows and doors. Use fans to circulate air. This helps the sealer dry and keeps fumes from building up. Wear safety gear, including gloves, eye protection, and a respirator. Many sealers have strong odors.
Pour the sealer into a paint tray. Use a long-handled roller for application. A paint sprayer can also work for large areas. Start in a corner and work your way out. Apply the sealer evenly. Avoid puddles or thick spots. Overlapping your strokes slightly ensures full coverage.
Most sealers require two coats. Apply the second coat after the first coat dries. Check the manufacturer’s directions for drying times. These times can vary greatly. Some sealers need several hours, others a full day. The second coat strengthens the moisture barrier. It also helps cover any missed spots from the first application. Allow the final coat to cure fully. This curing process can take several days or even weeks. Do not place carpet or heavy items on the floor until the sealer is fully cured.
Addressing Moisture Issues Before Sealing
Sealing is a barrier, but it does not fix all moisture problems. Some basements have severe water issues. Address these problems before you seal the floor. Ignoring them can lead to sealer failure and continued dampness.
Look for external water sources. Is water pooling near your home’s foundation? Check your gutters and downspouts. Make sure they direct water away from the house. Landscaping slopes should also lead water away. Poor drainage around your home is a major cause of basement water. Fixing these external issues prevents large amounts of water from reaching your basement walls and floor.
Install a dehumidifier in your basement. Basements often have high humidity levels. Even without direct water leaks, air moisture can be a problem. A dehumidifier removes this moisture from the air. This makes the basement environment drier. It protects your sealed floor and carpet from airborne dampness. Run the dehumidifier continuously, especially in humid climates. Empty its reservoir regularly or connect it to a drain.
Consider interior drain tile systems if you have severe leaks. These systems collect water that enters the basement walls. They direct it to a sump pump. The sump pump then moves the water out of your basement. This is a big project, but it solves major water infiltration. Sealing the floor works best when large water entry points are already controlled. A dry basement environment supports a long-lasting sealed floor and healthy carpet.
Post-Sealing Considerations: Subfloor and Carpet Installation
After sealing your concrete floor, consider a subfloor. A subfloor adds an extra layer of protection. It also provides insulation and a softer feel underfoot. There are several types of subfloor systems. They lift the carpet off the concrete.
One common subfloor option is raised modular subfloor panels. These panels often have channels on the bottom. These channels allow air to flow and moisture to evaporate. The panels click together quickly. They create a flat, level surface for carpet installation. These panels add warmth to the floor. They also make the carpet feel more comfortable.
Another option is a dimpled membrane combined with plywood. The dimpled membrane creates an air gap over the concrete. This allows any residual moisture to escape. Plywood sheets are then laid on top of the membrane. You then install your carpet over the plywood. This system offers good protection and a solid base. Knowing how your floor is built helps you plan for future changes. For insights into floor structure, you might look into How To Find Floor Studs Under Carpet.
When choosing carpet, consider low-pile options. Low-pile carpet dries faster if it ever gets damp. It also handles foot traffic well. Ensure the carpet pad is also mold-resistant. Many modern carpet pads have anti-microbial treatments. Installing carpet tiles is a flexible choice for basements. If a section gets damaged, you can replace individual tiles. Learn more about arranging these here: How To Arrange Carpet Tiles. These steps ensure your sealed floor works well with your new carpet.
Maintaining Your Sealed Basement Floor
A sealed concrete floor is not a one-time fix. It needs some maintenance to stay effective. Proper care ensures your carpet remains protected for years. The lifespan of a concrete sealer varies. It depends on the sealer type and basement conditions.
Inspect your sealed floor regularly. Look for any signs of wear. Check for peeling, flaking, or dull spots. These can indicate the sealer is breaking down. Pay attention to high-traffic areas. These spots may wear faster. If you see signs of wear, plan for reapplication.
Reapplying sealer is a good idea every few years. Penetrating sealers can last 10-20 years. Topical sealers might need reapplication every 3-5 years. Always refer to your sealer manufacturer’s guidelines. Reapplication usually involves cleaning the floor first. Then apply a new coat of sealer. This maintains the moisture barrier.
Keep basement humidity under control. Even with a sealed floor, high humidity can cause problems. Continue to use your dehumidifier. Aim for humidity levels below 60%. This prevents condensation on surfaces. It also stops mold and mildew from growing on walls or furniture. A consistent, dry environment helps your sealed floor last longer. It also keeps your entire basement healthy and comfortable.
FAQ Section
How do I know if my basement floor needs sealing before carpet? Perform a simple moisture test. Tape a 2x2 foot plastic sheet to the floor for 24-72 hours. If condensation forms underneath, your floor has moisture issues. This means sealing is necessary. This test helps confirm moisture presence.
Can I install carpet directly on a sealed concrete floor? Yes, you can install carpet directly on a sealed concrete floor. However, adding a subfloor system is often recommended. A subfloor creates an air gap. It also provides added insulation and comfort. This extra layer offers better protection for your carpet.
How long does concrete sealer last on a basement floor? The lifespan depends on the sealer type. Penetrating sealers can last 10-20 years. Topical sealers usually last 3-5 years. Regular inspections and proper maintenance extend their life. Always check the manufacturer’s specific product information.
What happens if I don’t seal my basement floor before carpet? Without sealing, moisture will rise through the concrete. This causes mold and mildew growth under your carpet. Your carpet will develop a musty smell. The carpet fibers can also break down, leading to premature wear. Your basement will feel damp and unhealthy.
Is sealing a concrete floor a DIY project? Yes, sealing a concrete floor is often a DIY project. It requires thorough cleaning and careful application. Following manufacturer instructions is very important. Larger basements or those with severe moisture issues may benefit from professional help. Simple tools are usually sufficient for the task.
Do I need a vapor barrier in addition to sealer? Some sealers act as vapor barriers. Penetrating sealers create an internal barrier. Topical sealers form a surface barrier. If your chosen sealer does not explicitly act as a vapor barrier, you might consider an additional membrane. This ensures maximum moisture protection. Check product specifications for clarity.
Conclusion
Preparing your basement concrete floor before installing carpet is a smart decision. Sealing basement concrete floor before carpet protects your investment. It ensures a healthy, comfortable living space. You learned why moisture is a problem and how sealers prevent it. We covered selecting the right sealer, cleaning the floor, and proper application. We also talked about managing existing moisture issues.
Remember to consider a subfloor for added comfort and protection. Regular maintenance of your sealed floor extends its life. Controlling humidity levels in your basement is also key. By following these steps, you create a dry and inviting basement. Your new carpet will stay beautiful and fresh. Start your basement project today. Create a comfortable and durable foundation for your home.
- basement sealing
- concrete floor
- carpet installation
- moisture control
- mold prevention

Tessa Winslow
Cleaning Expert
With years of hands-on experience in home care and a love for transforming everyday spaces, I specialize in making cleaning feel approachable and even enjoyable. I share smart, sustainable solutions that blend cleaning, organization, and decor—so your home not only looks good, but feels good too. Whether you're tackling weekend chores or taking on a full DIY refresh, I’m here to help you create a cleaner, cozier space you’ll love coming home to.